Introduction
Making homemade bracelets is not only a fun and creative activity but also a great way to express your personal style. With a few basic materials and some creativity, you can design and create unique bracelets that reflect your individuality. In this step-by-step guide, we will explore the art of making homemade bracelets, providing you with the tools and inspiration to unlock your creativity and craft beautiful bracelets. The article is divided into four parts, each containing two levels of content, guiding you through the process of making homemade bracelets.
Part 1: Gathering Materials and Tools
Level 1: Essential Materials
To get started, gather the necessary materials for making homemade bracelets. Consider the following aspects:
- Beading Wire or Elastic Cord: Beading wire or elastic cord serves as the foundation for your bracelet. Choose a suitable option depending on the design and durability you desire.
- Beads and Charms: Beads and charms are the decorative elements that bring your bracelet to life. Select a variety of beads in different shapes, colors, and sizes to add visual interest to your design.
Level 2: Tools and Accessories
In addition to materials, having the right tools and accessories is essential. Explore the following ideas:
- Jewelry Pliers: Invest in a set of jewelry pliers, including round-nose pliers, chain-nose pliers, and wire cutters. These tools will help you manipulate wire, open jump rings, and create secure closures.
- Clasps and Findings: Clasps and findings are essential for securing your bracelet. Choose clasps that match your design, such as lobster clasps, magnetic clasps, or toggle clasps.
Part 2: Basic Bracelet-Making Techniques
Level 1: Beaded Bracelets
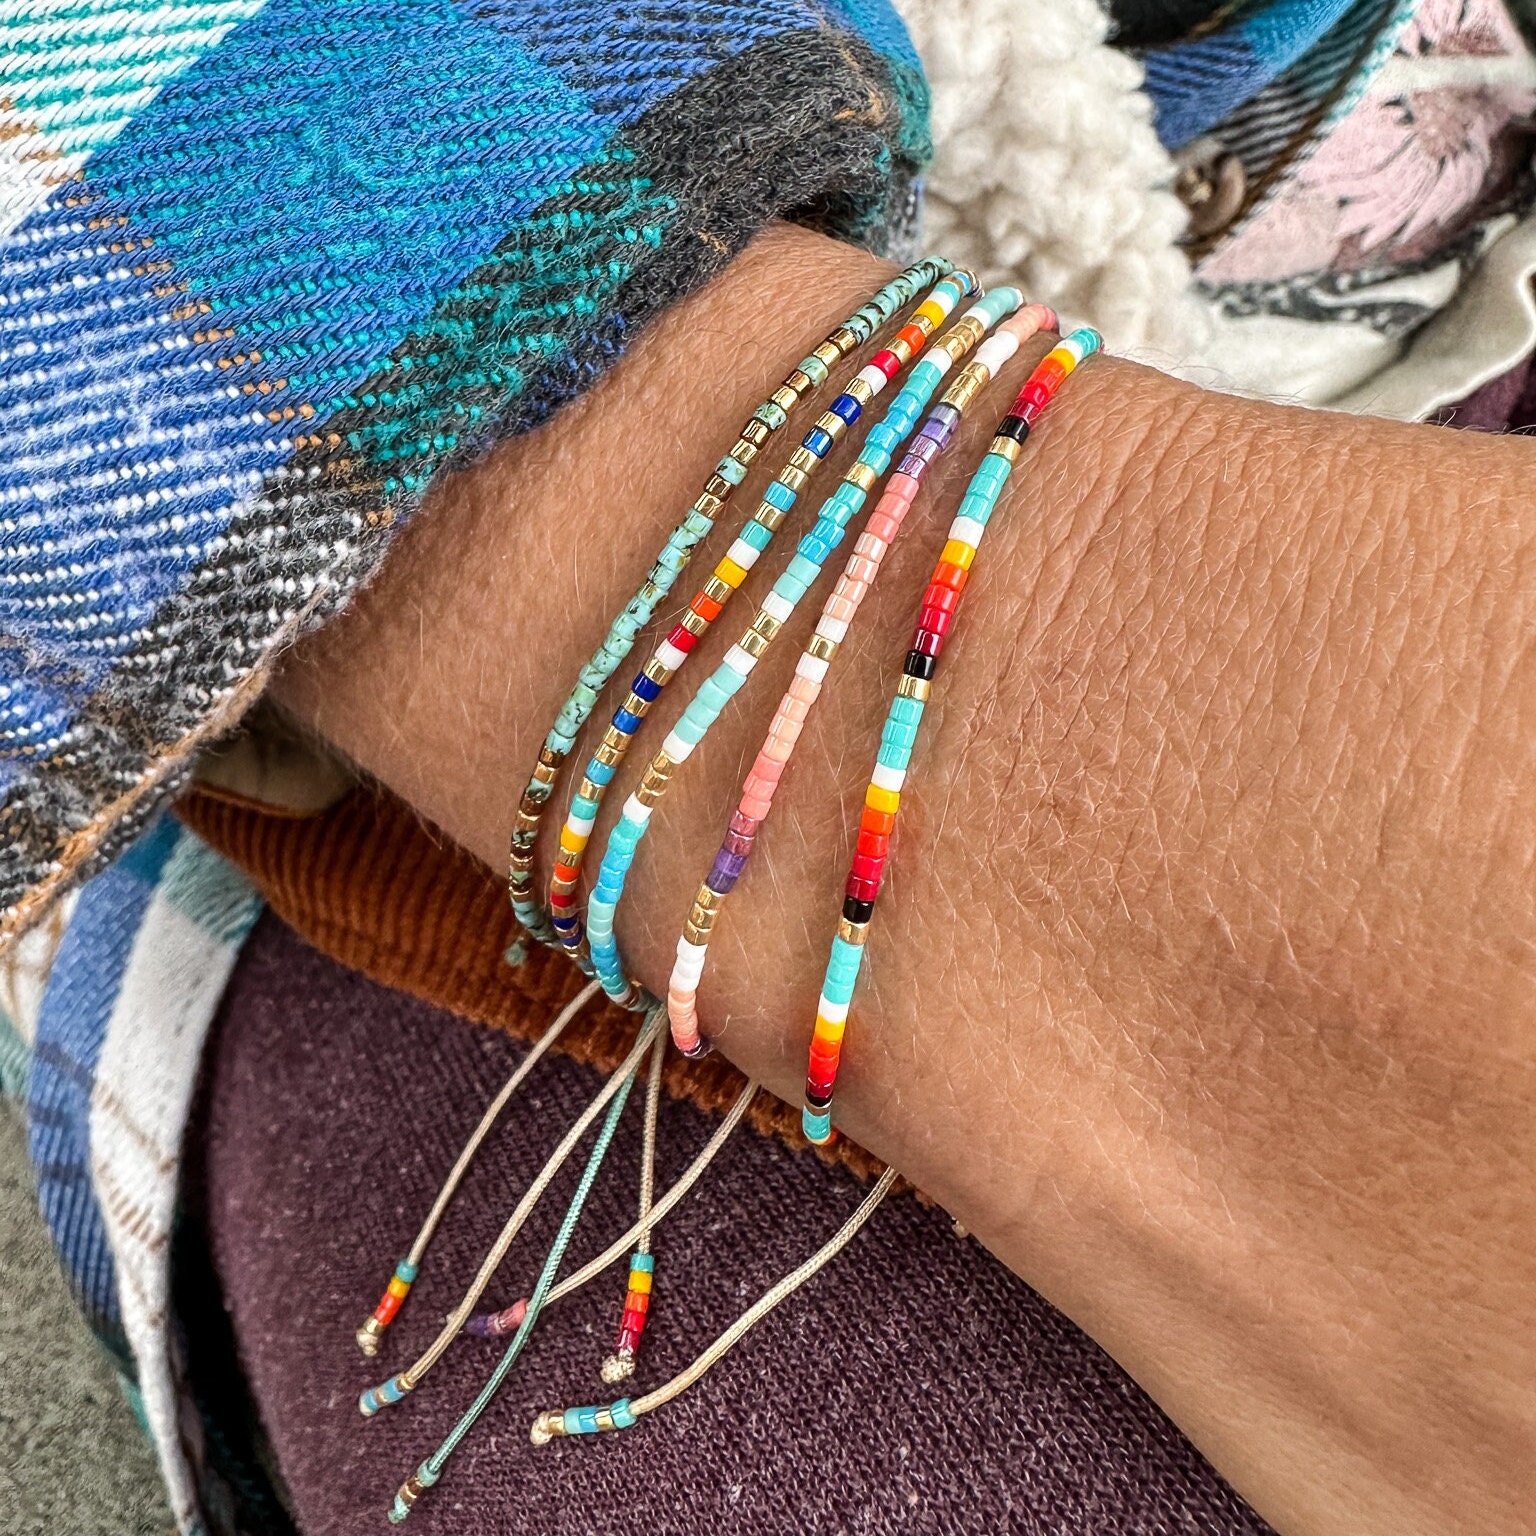
Beaded bracelets are a versatile and popular choice. Consider the following aspects:
- Stringing Technique: Start by sliding beads onto your beading wire or elastic cord. Experiment with different bead arrangements and patterns to achieve your desired design. Finish the bracelet with clasps and crimp beads or knots for security.
- Charm Bracelets: Add charms to your beaded bracelet for a personalized touch. Attach charms to jump rings or add them directly onto the beading wire in between beads.
Level 2: Macramé Bracelets
Macramé bracelets utilize knotting techniques to create intricate designs. Explore the following ideas:
- Square Knots: Learn the square knot technique by crossing cords over each other and tying knots. Experiment with different color combinations and bead placements to achieve unique macramé patterns.
- Braided Patterns: Combine multiple strands of cord and create braided patterns using a series of knots. Incorporate beads into the braids for added texture and visual interest.
Part 3: Embellishments and Personalization
Level 1: Adding Charms and Pendants
Personalize your homemade bracelets by adding charms and pendants. Consider the following aspects:
- Theme-Based Charms: Choose charms that reflect your interests or meaningful symbols. Add them to your bracelet using jump rings or special charm holders.
- Pendant Focal Points: Incorporate larger pendants as focal points in your bracelet design. Attach them using jump rings or create beaded loops to showcase the pendant.
Level 2: Embroidery and Beadwork
Enhance your bracelets with embroidery and beadwork. Explore the following ideas:
- Embroidery Thread: Use colorful embroidery thread to create patterns and designs on your bracelet. Add beads to the thread for a textural and eye-catching effect.
- Bead Embroidery: Sew beads directly onto fabric or a felt base to create intricate designs. Experiment with different bead sizes, shapes, and colors to achieve unique patterns.

Part 4: Finishing Touches and Care
Level 1: Clasp Options and Closures
Choose the appropriate closure for your bracelet. Consider the following aspects:
- Lobster Clasps: Lobster clasps are secure and easy to use. Attach them to jump rings or directly to beading wire or cord.
- Toggle Clasps: Toggle clasps are both functional and decorative. Attach them to jump rings or create loops for secure closures.
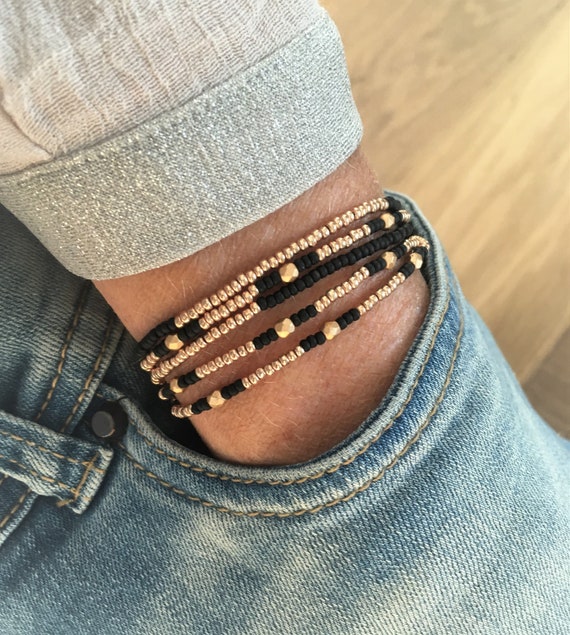
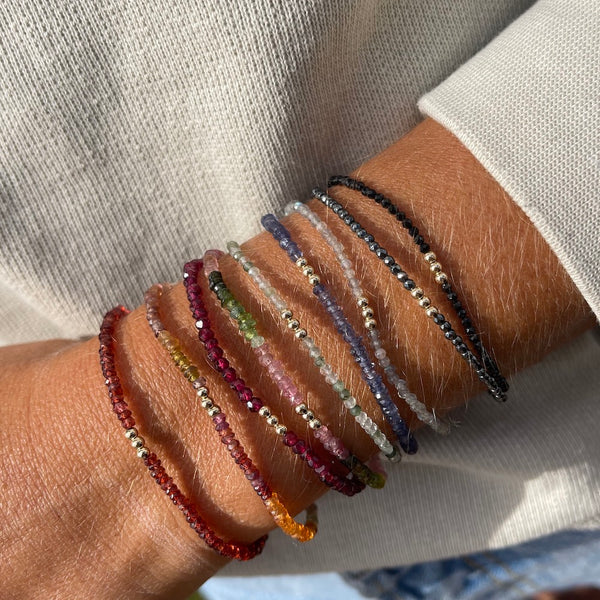
- Mix and Match: Experiment with different bracelet styles, materials, and textures to create a unique stack. Combine beaded bracelets, macramé bracelets, and charm bracelets for a varied and eye-catching look.
-
Varying Lengths: Play with the lengths of your bracelets to create dimension and visual interest. Stack bracelets of different lengths to create a cascading effect on your wrist.
Level 2: Bracelet Care and Maintenance
Proper care and maintenance are essential to preserve the longevity of your homemade bracelets. Explore the following ideas:
- Storage: Store your bracelets in a jewelry box or fabric pouch to prevent tangling and protect them from dust and moisture.
- Cleaning: Clean your bracelets regularly using a soft cloth or jewelry cleaning solution to remove dirt and restore their shine. Avoid exposing them to harsh chemicals or excessive moisture.
-
Traditional Knotting Techniques: Use traditional knotting techniques, such as the diagonal stripe or chevron pattern, to create intricate friendship bracelets. Experiment with different color combinations to personalize each bracelet.
- Personalized Messages: Add personalized messages or initials to your friendship bracelets using alphabet beads or embroidery. This adds a special touch and makes them meaningful gifts for friends and loved ones.

Conclusion:
Making homemade bracelets is a rewarding and creative endeavor that allows you to express your personal style. By gathering the necessary materials, learning basic bracelet-making techniques, and adding embellishments and personalization, you can craft unique and beautiful bracelets that reflect your individuality. Remember to choose the right closures, care for your bracelets properly, and let your creativity shine through each design. With this step-by-step guide, you are now equipped to unlock your creativity and embark on a fascinating journey of making homemade bracelets that are both fashionable and meaningful. Enjoy the process, experiment with different techniques and materials, and showcase your personal style with pride.
Making homemade bracelets is not only a creative outlet but also a way to express your personal style and create unique accessories. Whether you choose to make beaded bracelets, macramé bracelets, or friendship bracelets, the possibilities are endless. By gathering the right materials, learning basic techniques, and adding your own personal touch, you can create beautiful and meaningful bracelets that reflect your individuality. Remember to experiment with different styles, colors, and textures, and don’t be afraid to mix and match or stack bracelets for a trendy look. Bracelet making is a journey of self-expression and creativity, so enjoy the process and let your imagination guide you. With this step-by-step guide, you are now equipped to unlock your creativity and make homemade bracelets that are both trendy and timeless. Create, wear, and share your beautiful creations with pride!