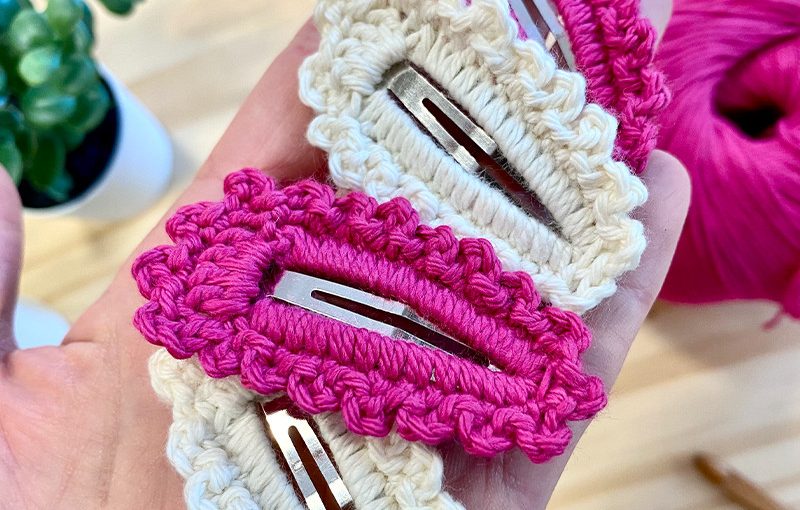
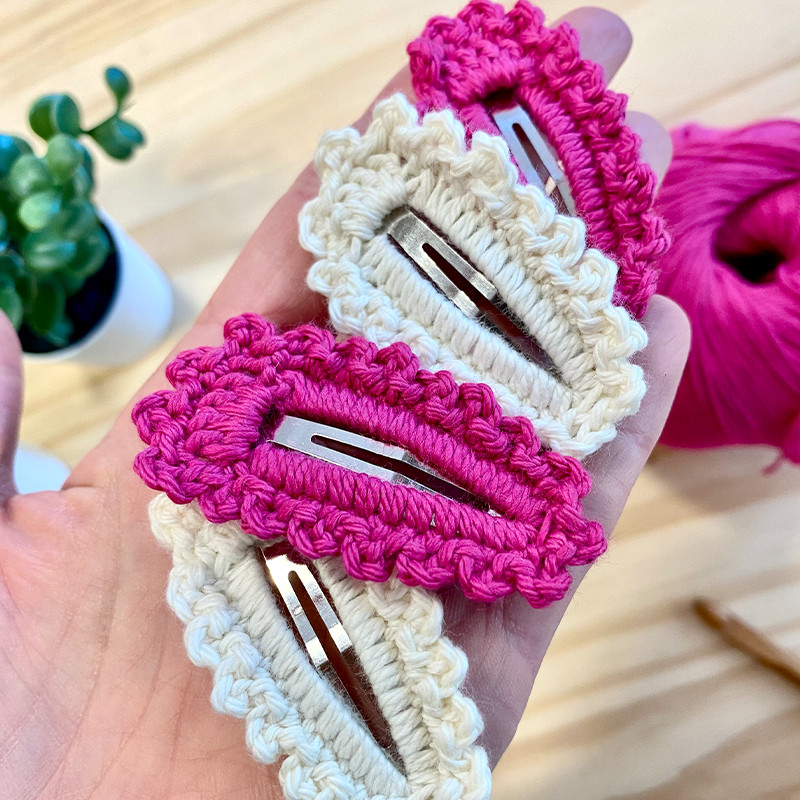
Introduction to Crochet Hair Clips
Crochet hair clips are a charming and creative way to add a personal touch to any hairstyle. These handmade accessories can range from simple and elegant to whimsical and colorful, making them perfect for both everyday wear and special occasions. They offer a unique flair that’s not just fashionable but also reflects the crafter’s skills and style preferences.
To start creating your very own crochet hair clips, you’ll need a basic understanding of crochet techniques and some simple materials. With the right approach, even beginners can produce beautiful results. These hair clips can also serve as thoughtful, personalized gifts that carry a bit of heart and craft in each stitch.
In this blog, we’ll go through the essentials you need to know to get started with crochet hair clips. From gathering your materials to mastering basic crochet stitches, we will guide you through the process. By the end of this tutorial, you’ll be equipped with the knowledge to create your own set of unique crochet hair clips.
Materials Needed for Crochet Hair Clips
To start your crochet hair clips project, gather the right materials. Here’s what you’ll need:
- Yarn: Choose a yarn that’s sturdy yet soft. Cotton or acrylic yarns work well for hair accessories.
- Crochet Hook: A small hook that matches your yarn’s weight ensures tight, even stitches. Size 3.5mm to 4.5mm hooks are ideal.
- Hair Clip Base: Metal or plastic hair clips act as the foundation. Ensure they have a flat top for easy attachment.
- Scissors: Sharp scissors are necessary for cutting yarn neatly.
- Tapestry Needle: Use this to weave in ends and attach your crochet piece to the clip.
- Glue: A strong fabric or craft glue secures the crochet fabric to the clip.
Choose colors that match your style or the occasion. Keep these materials handy, and you’re all set to begin crocheting your custom hair clips.
Basic Crochet Stitches for Hair Clips
Before diving into the creation of crochet hair clips, you need to master some basic stitches.
The Slip Knot and Chain Stitch (ch)
Start with a slip knot on your hook to begin any crochet project. Next, create a foundation row of chain stitches. This forms the base from which you will build your project.
Single Crochet (sc)
Single crochet is the simplest stitch and forms a dense, firm fabric. Insert the hook, yarn over, pull through, yarn over again, and pull through both loops on the hook.
Half Double Crochet (hdc)
The half double crochet offers a bit more height than single crochet. Yarn over, insert the hook, yarn over, pull through, yarn over once more, and pull through all three loops.
Double Crochet (dc)
For a looser weave that works up faster, use the double crochet. Yarn over, insert the hook, yarn over, pull through, yarn over, pull through two loops, then yarn over and pull through the remaining two loops.
Slip Stitch (sl st)
The slip stitch is for joining stitches or working in the round. Insert the hook, yarn over, and pull the loop through both the stitch and the loop on the hook.
Mastering these stitches will give you a solid foundation for creating your crochet hair clips. Remember to keep your tension even for the best results. Practice makes perfect, so take your time to get comfortable with each stitch.
Step-by-Step Guide to Crocheting a Basic Hair Clip
Now that you’ve got your materials ready and basic stitches down, let’s crochet a basic hair clip. Here’s a simple guide to follow.
- Create a slip knot and work a foundation chain. The number of chains will depend on the length you want for your hair clip cover. A small hair clip may require about 10 to 12 chains.
- Turn and start the first row. Use single crochet (sc) for a tight and sturdy fabric. Make one sc in each chain across.
- Build subsequent rows. Turn your work, chain one for height, and continue with sc across each row. Repeat this until your crocheted piece is long enough to cover the top of the hair clip.
- Finish off the crochet work. Once the piece is the right size, cut the yarn, leaving a tail for sewing. Pull this tail through the last loop on your hook and tighten to secure your work.
- Attach the crochet to the hair clip. Using a tapestry needle, stitch the fabric to the flat top of your hair clip. If preferred, add a line of strong glue for extra hold. Make sure it’s centered and straight.
- Weave in your ends. To keep your work tidy, weave in any loose ends with your tapestry needle.
Congratulations! You have created a simple crochet hair clip. You can further personalize your hair clip by adding embellishments or experimenting with different stitches for variety.
Adding Embellishments and Personal Touches
Once you’ve mastered the basic crochet hair clip, it’s time to get creative. Embellishments and personal touches can transform a simple clip into a unique accessory. Here’s how you can enhance your crochet hair clips:
- Ribbons: Weave thin ribbons through your stitches. Choose colors that stand out or complement your yarn.
- Beads: Sew beads onto the clip for added sparkle. Use a needle that fits the bead holes.
- Buttons: Attach a decorative button to the center of the clip. This can serve as a focal point.
- Flowers: Crochet small flowers and sew them on top. They’re perfect for spring and summer styles.
- Sequins: Apply sequins to catch the light and add shimmer. A little glue can secure them well.
- Embroidery: Add a monogram or small design with embroidery floss for a personal stamp.
- Charms: Attach metal charms with jump rings. These are great for themed accessories.
- Lace: Layer a piece of lace under your crochet work for a vintage look. Stitch it on carefully.
By incorporating these ideas, you will be adding a personal touch that makes your crochet hair clips stand out. Mix and match different elements to create hair accessories that match your personal style or the occasion. With each addition, remember to keep the clip’s balance and aesthetics in mind. With creativity, your crochet hair clips can become small tokens of self-expression.
Tips for Making Durable Hair Clips
When crafting crochet hair clips, durability is key. You want them to last through daily wear and tear. Here are some tips to ensure your creations withstand the test of time:
- Tight Stitches: Work with tight, consistent stitches. They make the piece more sturdy.
- Quality Yarn: Use high-quality yarn. It resists fraying and holds shape better.
- Secure Knots: Tie off your ends with secure knots to prevent unraveling.
- Proper Glue: Choose the right glue. It should bond fabric to metal strongly.
- Reinforcement: Consider sewing over glued areas. This adds an extra layer of hold.
- Protective Layer: Apply a clear nail polish or fabric sealant. This can protect against moisture and wear.
- Test Clips: Wear your clips before selling or gifting. Ensure they stay in place and endure use.
By following these tips, your crochet hair clips will maintain their form and function, accessory after accessory.
Creative Ideas for Crochet Hair Clip Designs
Crafting crochet hair clips is not just about making a functional item. It’s an art form. Here are creative ideas to fuel your inspiration and turn simple hair clips into mini masterpieces.
- Mix and Match Colors: Use multiple yarn colors. Create stripes, polka dots, or ombre effects.
- Themes: Design clips for holidays, seasons, or special events. Think hearts for Valentine’s Day or pumpkins for Halloween.
- Shapes: Go beyond traditional strips. Crochet stars, moons, or even animal shapes to top your clips.
- Texture: Introduce bobbles or popcorn stitches for a 3D effect. They add an exciting touch to your clips.
- Letters or Names: Personalize clips with crocheted letters. Spell out names or initials for a custom flair.
- Appliques: Attach crochet appliques like butterflies or flowers. They offer a delightful detail to your designs.
- Fringe or Tassels: Add a bohemian look with fringes or tassels. They swing with movement, adding an animated charm.
- Motifs: Experiment with crochet motifs. Try granny squares or nautical anchors for a unique statement.
- Layering: Layer different crochet elements. Combine lace and solid crochet for a textured look.
- Interactive Elements: Create clips with movable parts. Think of tiny crochet envelopes with notes inside or wings that flap.
Each of these ideas can be adjusted to fit different clip sizes and shapes. Remember to use tight stitches and quality materials to keep your designs durable. Enhance each creation with your personal style, and soon you’ll have a collection of crochet hair clips that are truly special.
Finishing and Attaching the Clip to Crochet Work
Finishing your crochet hair clips properly is crucial for a polished look and durability. Here’s how to attach the clip optimally:
- Secure Finishing: Once you’ve completed your crochet design, tie off the end securely and weave in any loose ends with a tapestry needle.
- Positioning: Place your crochet fabric on the hair clip to check for fit. Adjust as necessary to ensure it covers the clip adequately.
- Gluing: Apply a strong fabric glue evenly on the flat side of the hair clip. Be careful not to use too much.
- Attaching: Press the crochet piece firmly onto the clip. Allow it to dry completely before handling further.
- Sewing: For extra security, stitch the edges of the crochet piece to the hair clip using a needle and thread that matches your yarn.
- Final Touches: Trim any excess thread and clean up any glue residue for a clean finish.
By following these meticulous steps, your crochet hair clips will look professional and hold together well. Remember to let the glue dry fully before wearing or gifting your handmade accessory.


