Introduction:
Bracelet making is a creative and fulfilling craft that allows you to express your personal style and create unique accessories. With a variety of techniques available, you can experiment with different methods to design homemade bracelets that are both beautiful and meaningful. In this comprehensive guide, we will explore a range of bracelet making techniques, providing step-by-step instructions and inspiration for each. Divided into four parts, each containing two levels of content, this article will guide you through the process of exploring different methods for creating homemade bracelets.
Part 1: Stringing Techniques
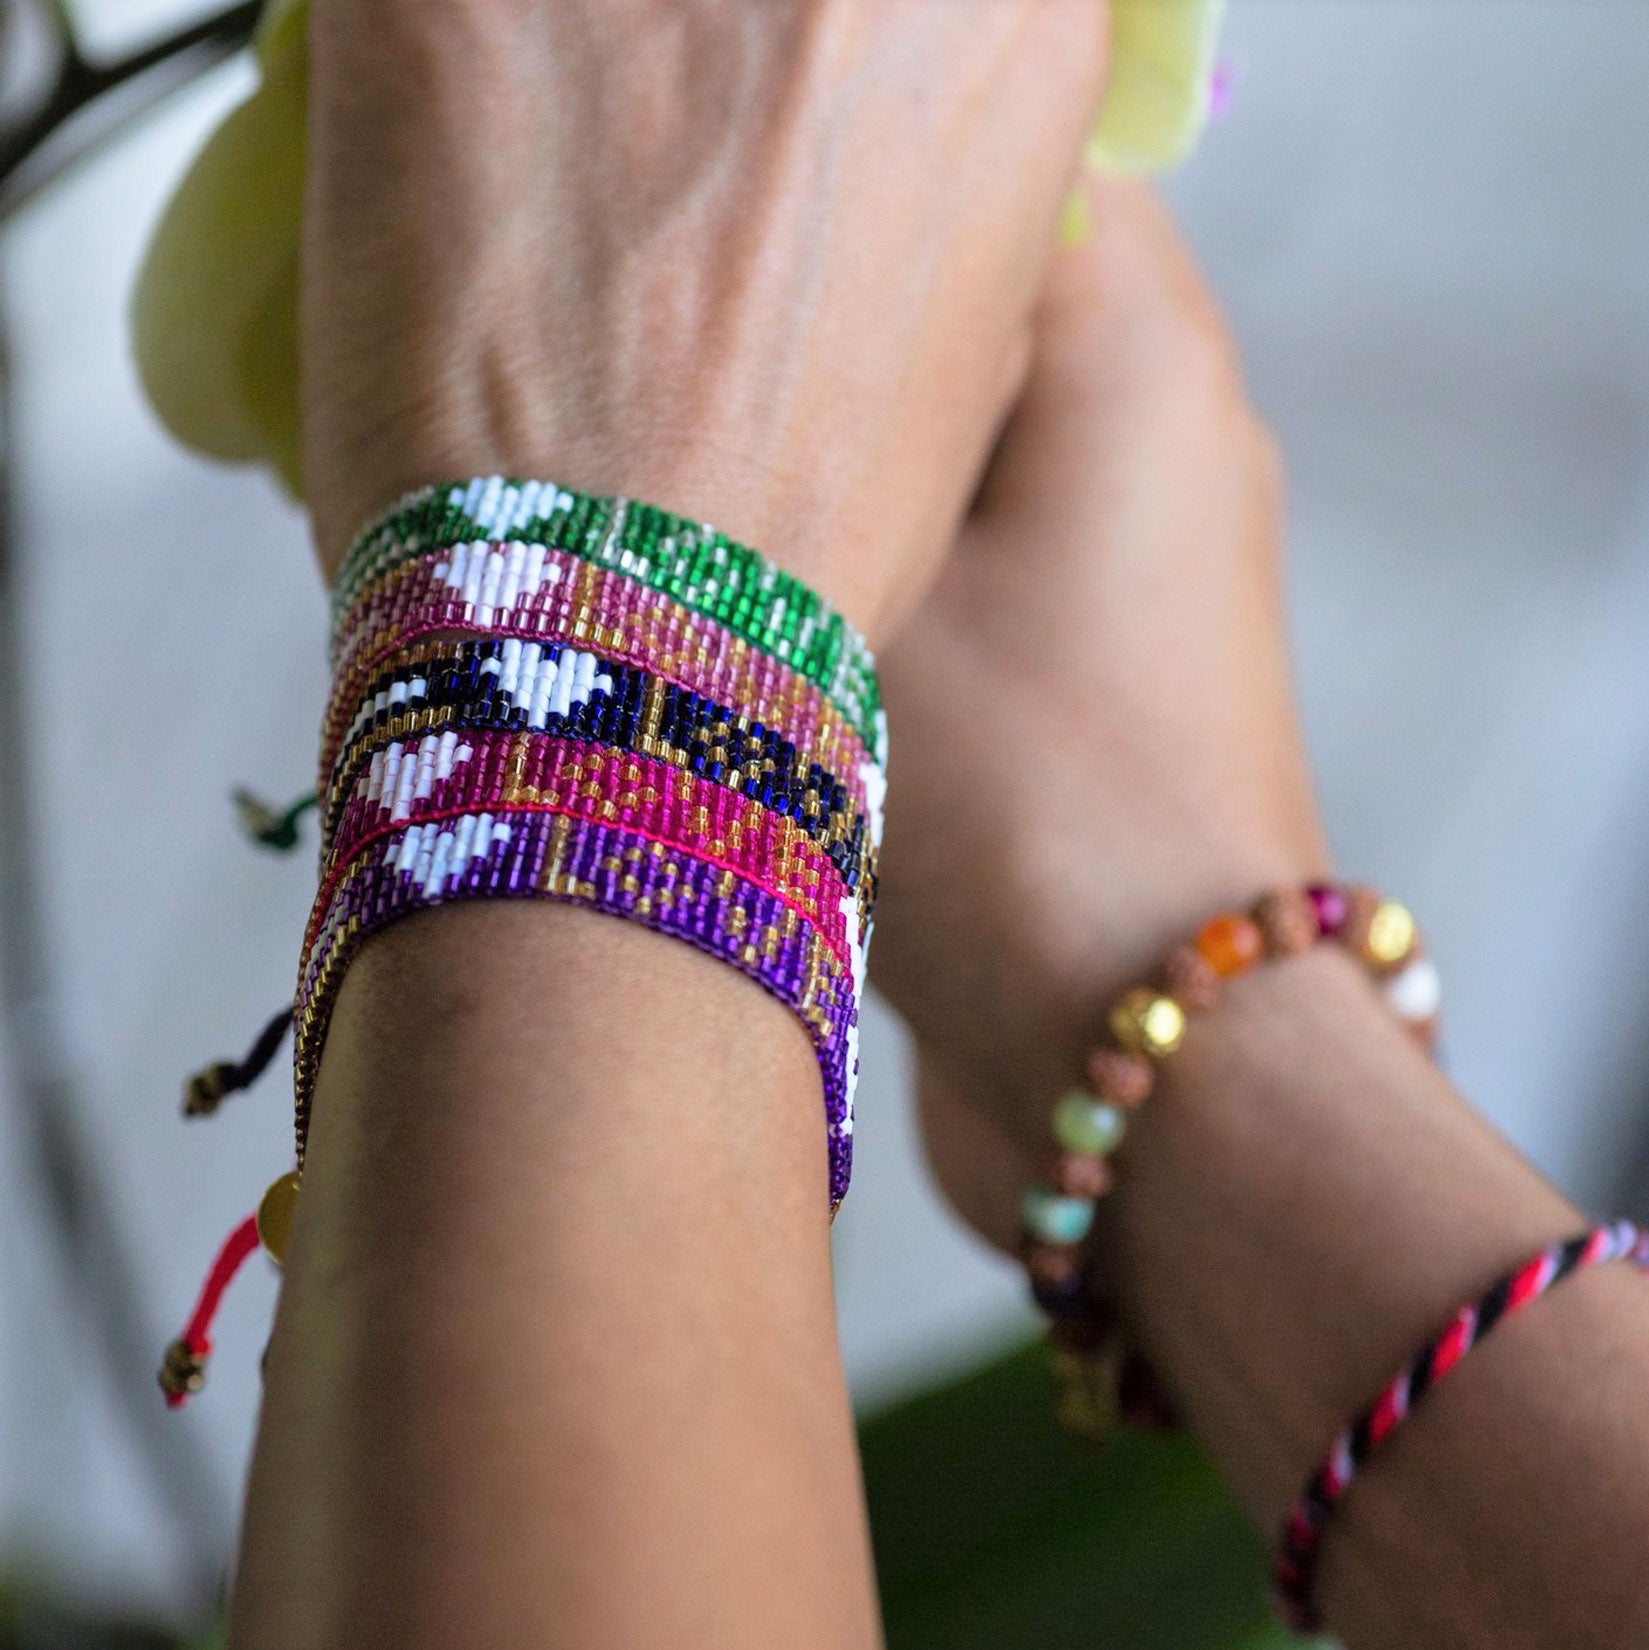
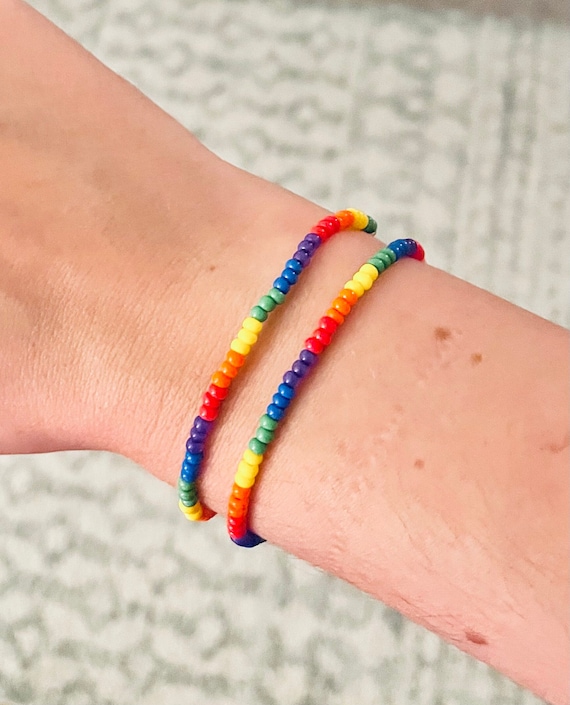
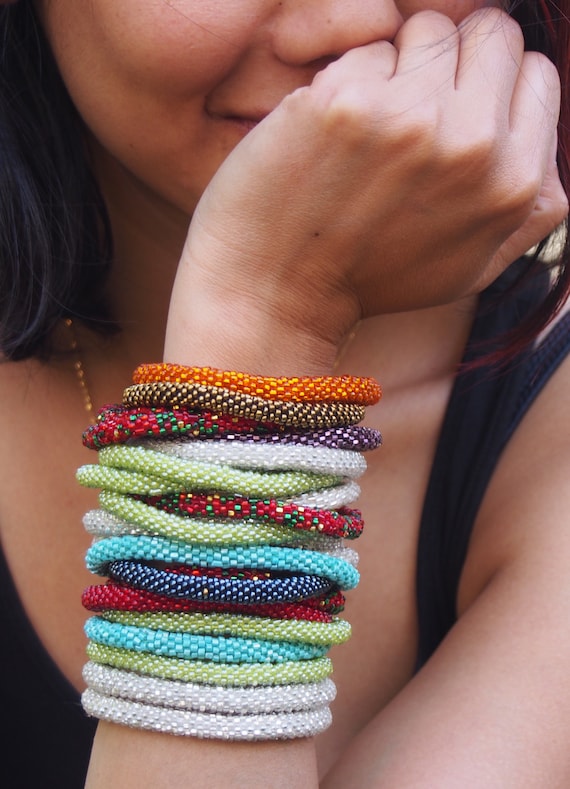
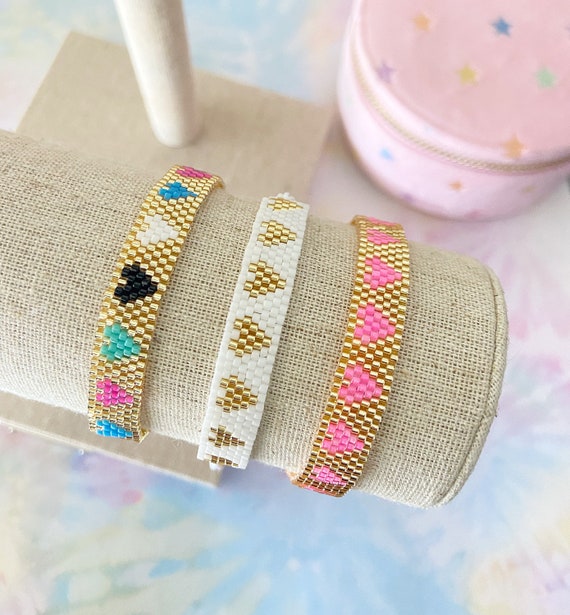
Level 1: Beaded Bracelets
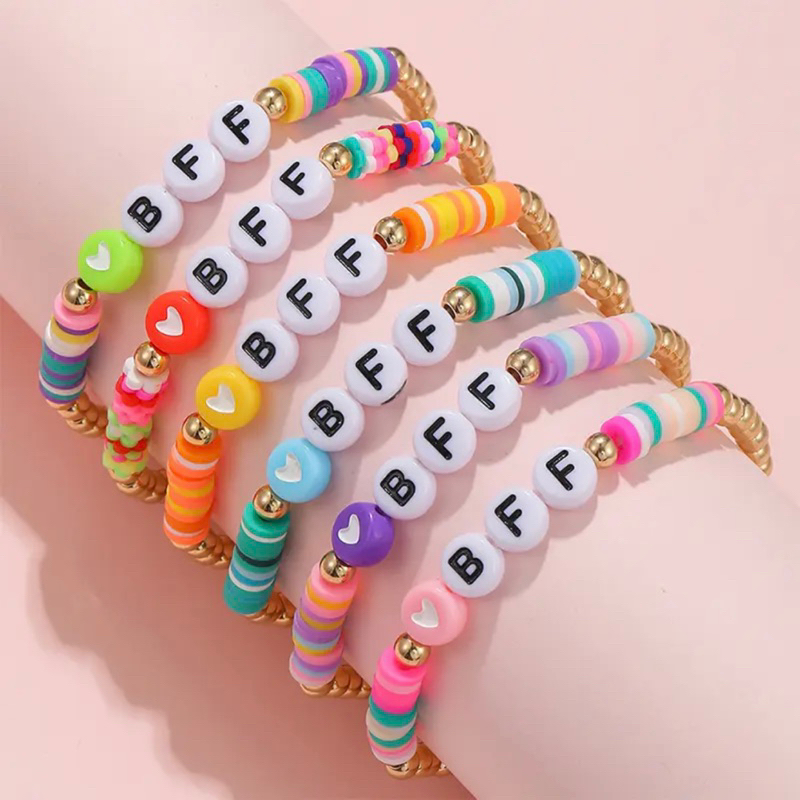
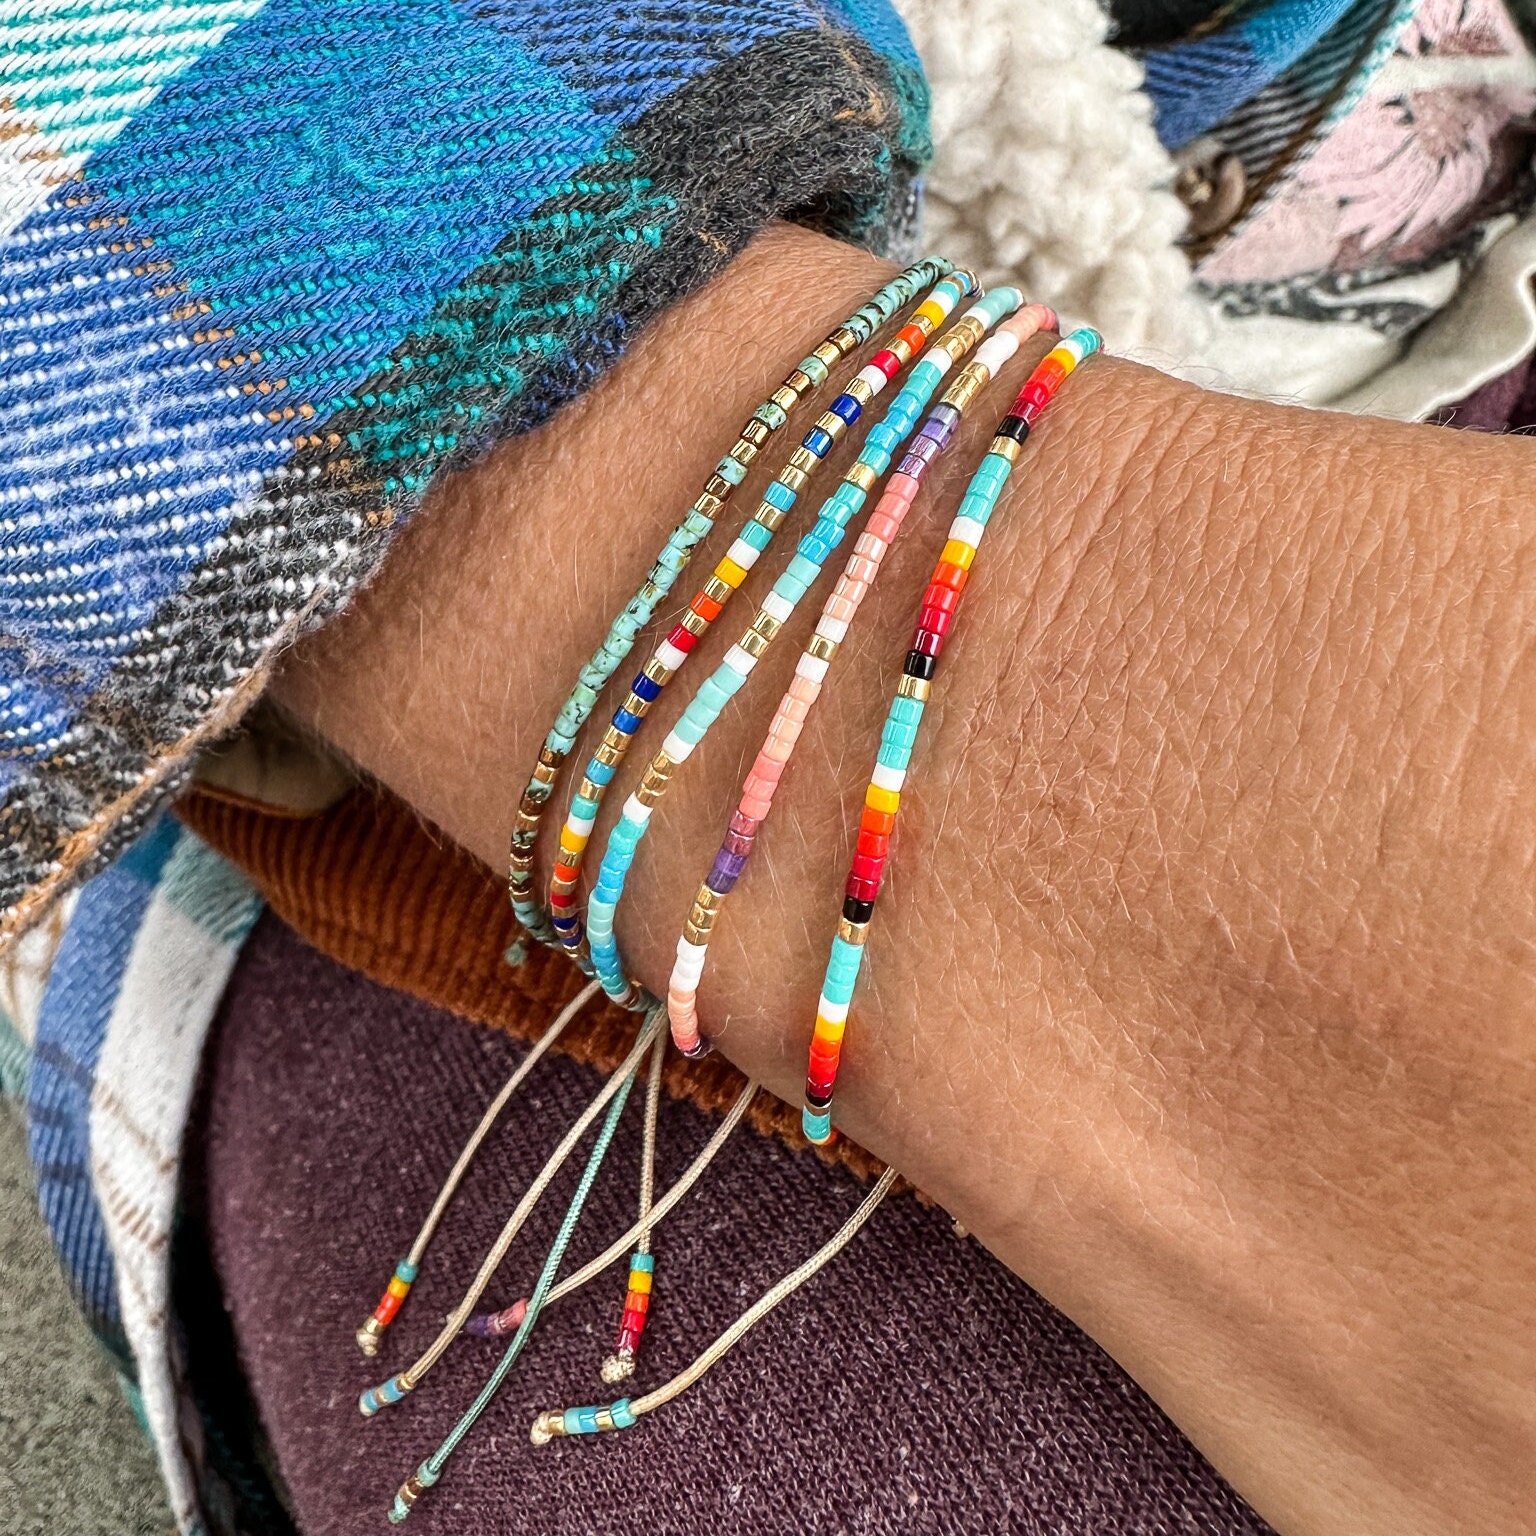
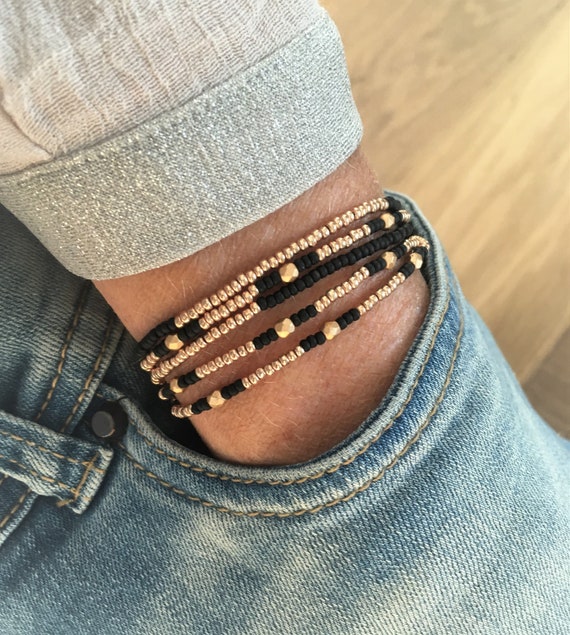
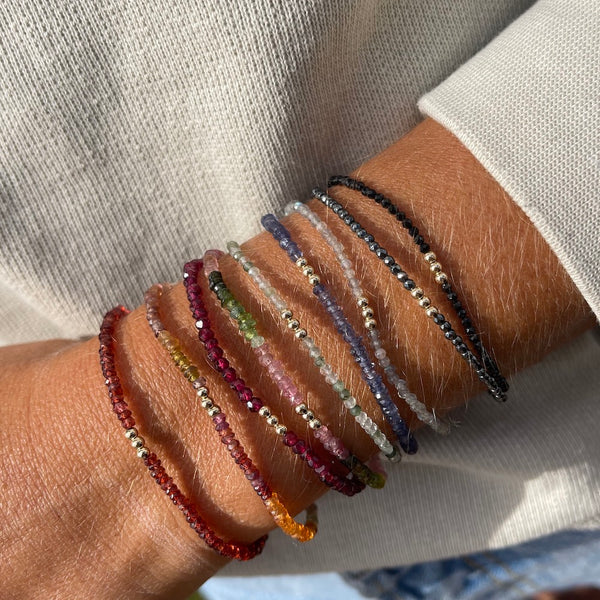
Beaded bracelets are a classic and versatile option for bracelet making. Consider the following aspects:
- Basic Stringing: String beads onto a beading wire, elastic cord, or thread, and secure the ends with clasps or knots. Experiment with different bead sizes, shapes, and colors to create a unique design.
- Multi-Strand Bracelets: Create multi-strand bracelets by stringing multiple strands of beads onto a single clasp. This adds depth and visual interest to your bracelet.
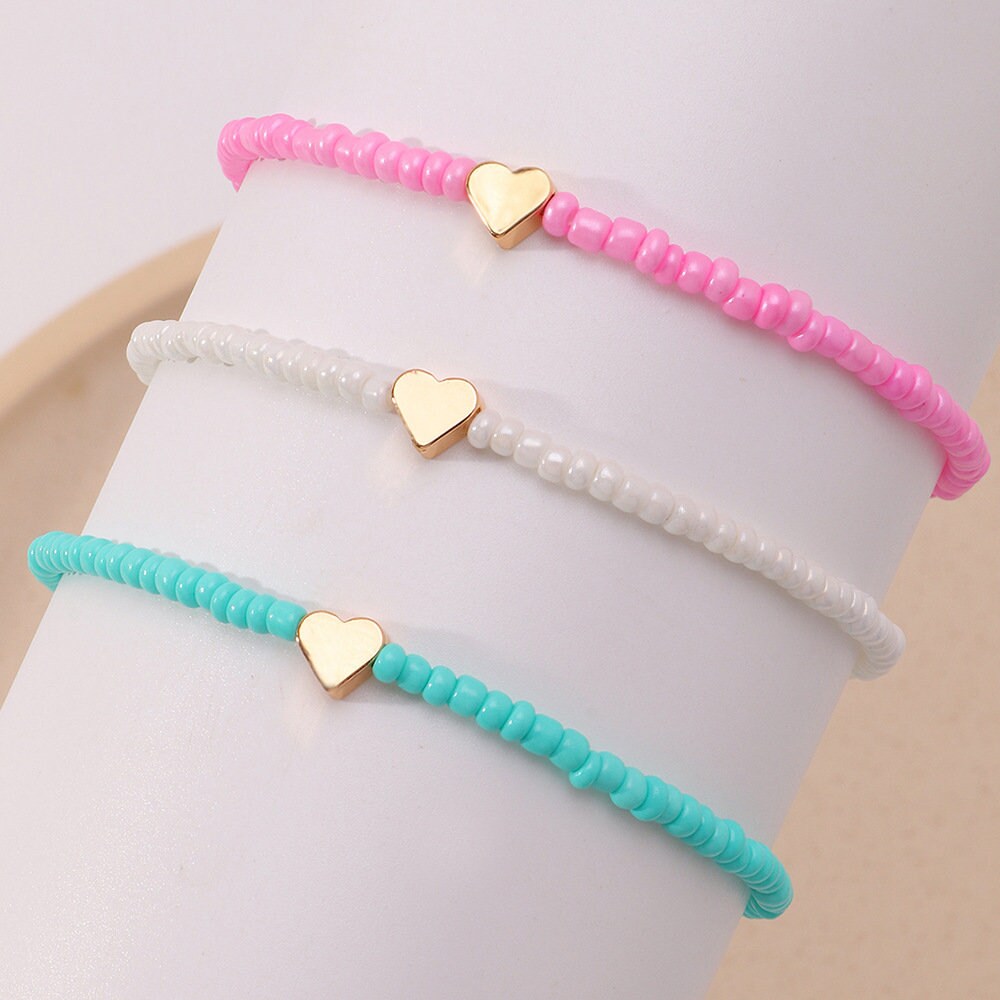
Level 2: Charm Bracelets
Charm bracelets allow you to create personalized and meaningful accessories. Explore the following ideas:
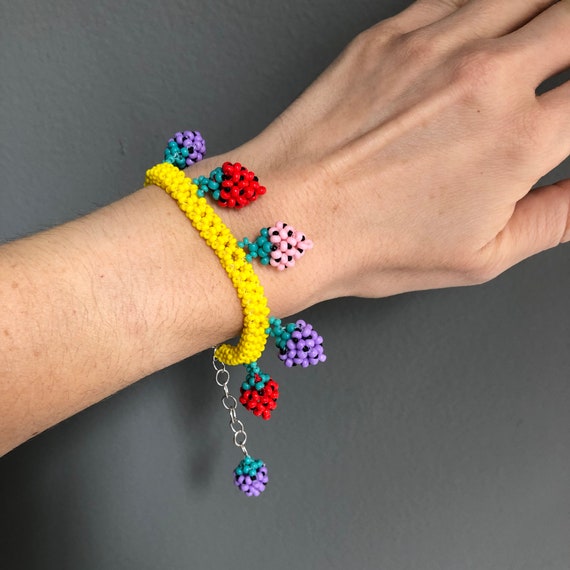
- Link Charm Bracelets: Use jump rings to attach charms to a chain bracelet. Choose charms that represent your interests, hobbies, or special memories for a unique and sentimental design.
- Dangle Charm Bracelets: Create a dangle charm bracelet by attaching charms to the links of a chain bracelet. This adds movement and sparkle to your creation.
Part 2: Braiding and Knotting Techniques
Level 1: Macramé Bracelets
Macramé bracelets utilize knotting techniques to create intricate and stylish designs. Consider the following aspects:
- Basic Knotting: Learn how to tie basic macramé knots, such as the square knot or half-hitch knot, to create beautiful woven patterns. Experiment with different colors and textures of cords for a personalized touch.
- Beaded Macramé Bracelets: Incorporate beads into your macramé bracelets by stringing them onto the cords as you tie knots. This adds texture and visual interest to your design.
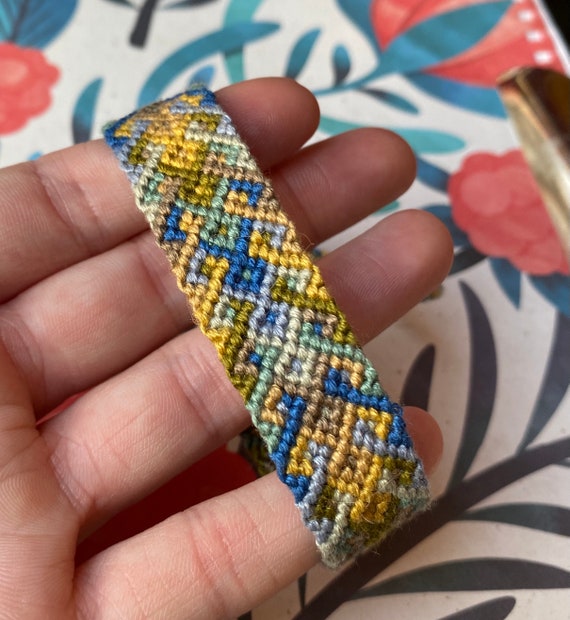
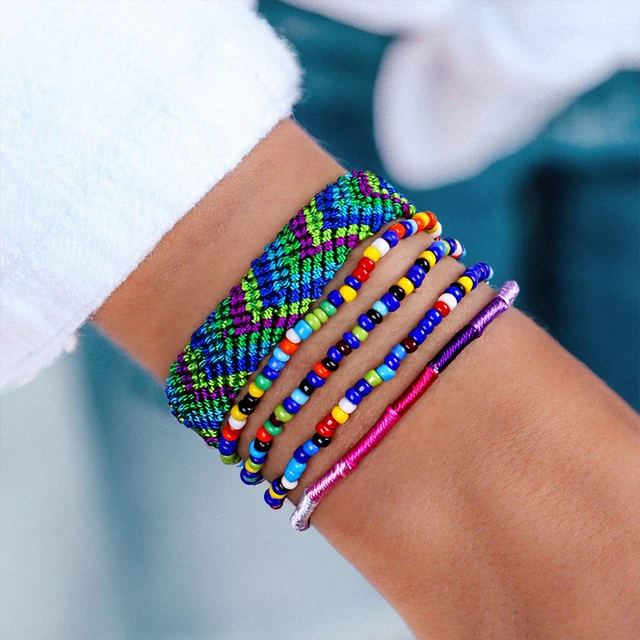
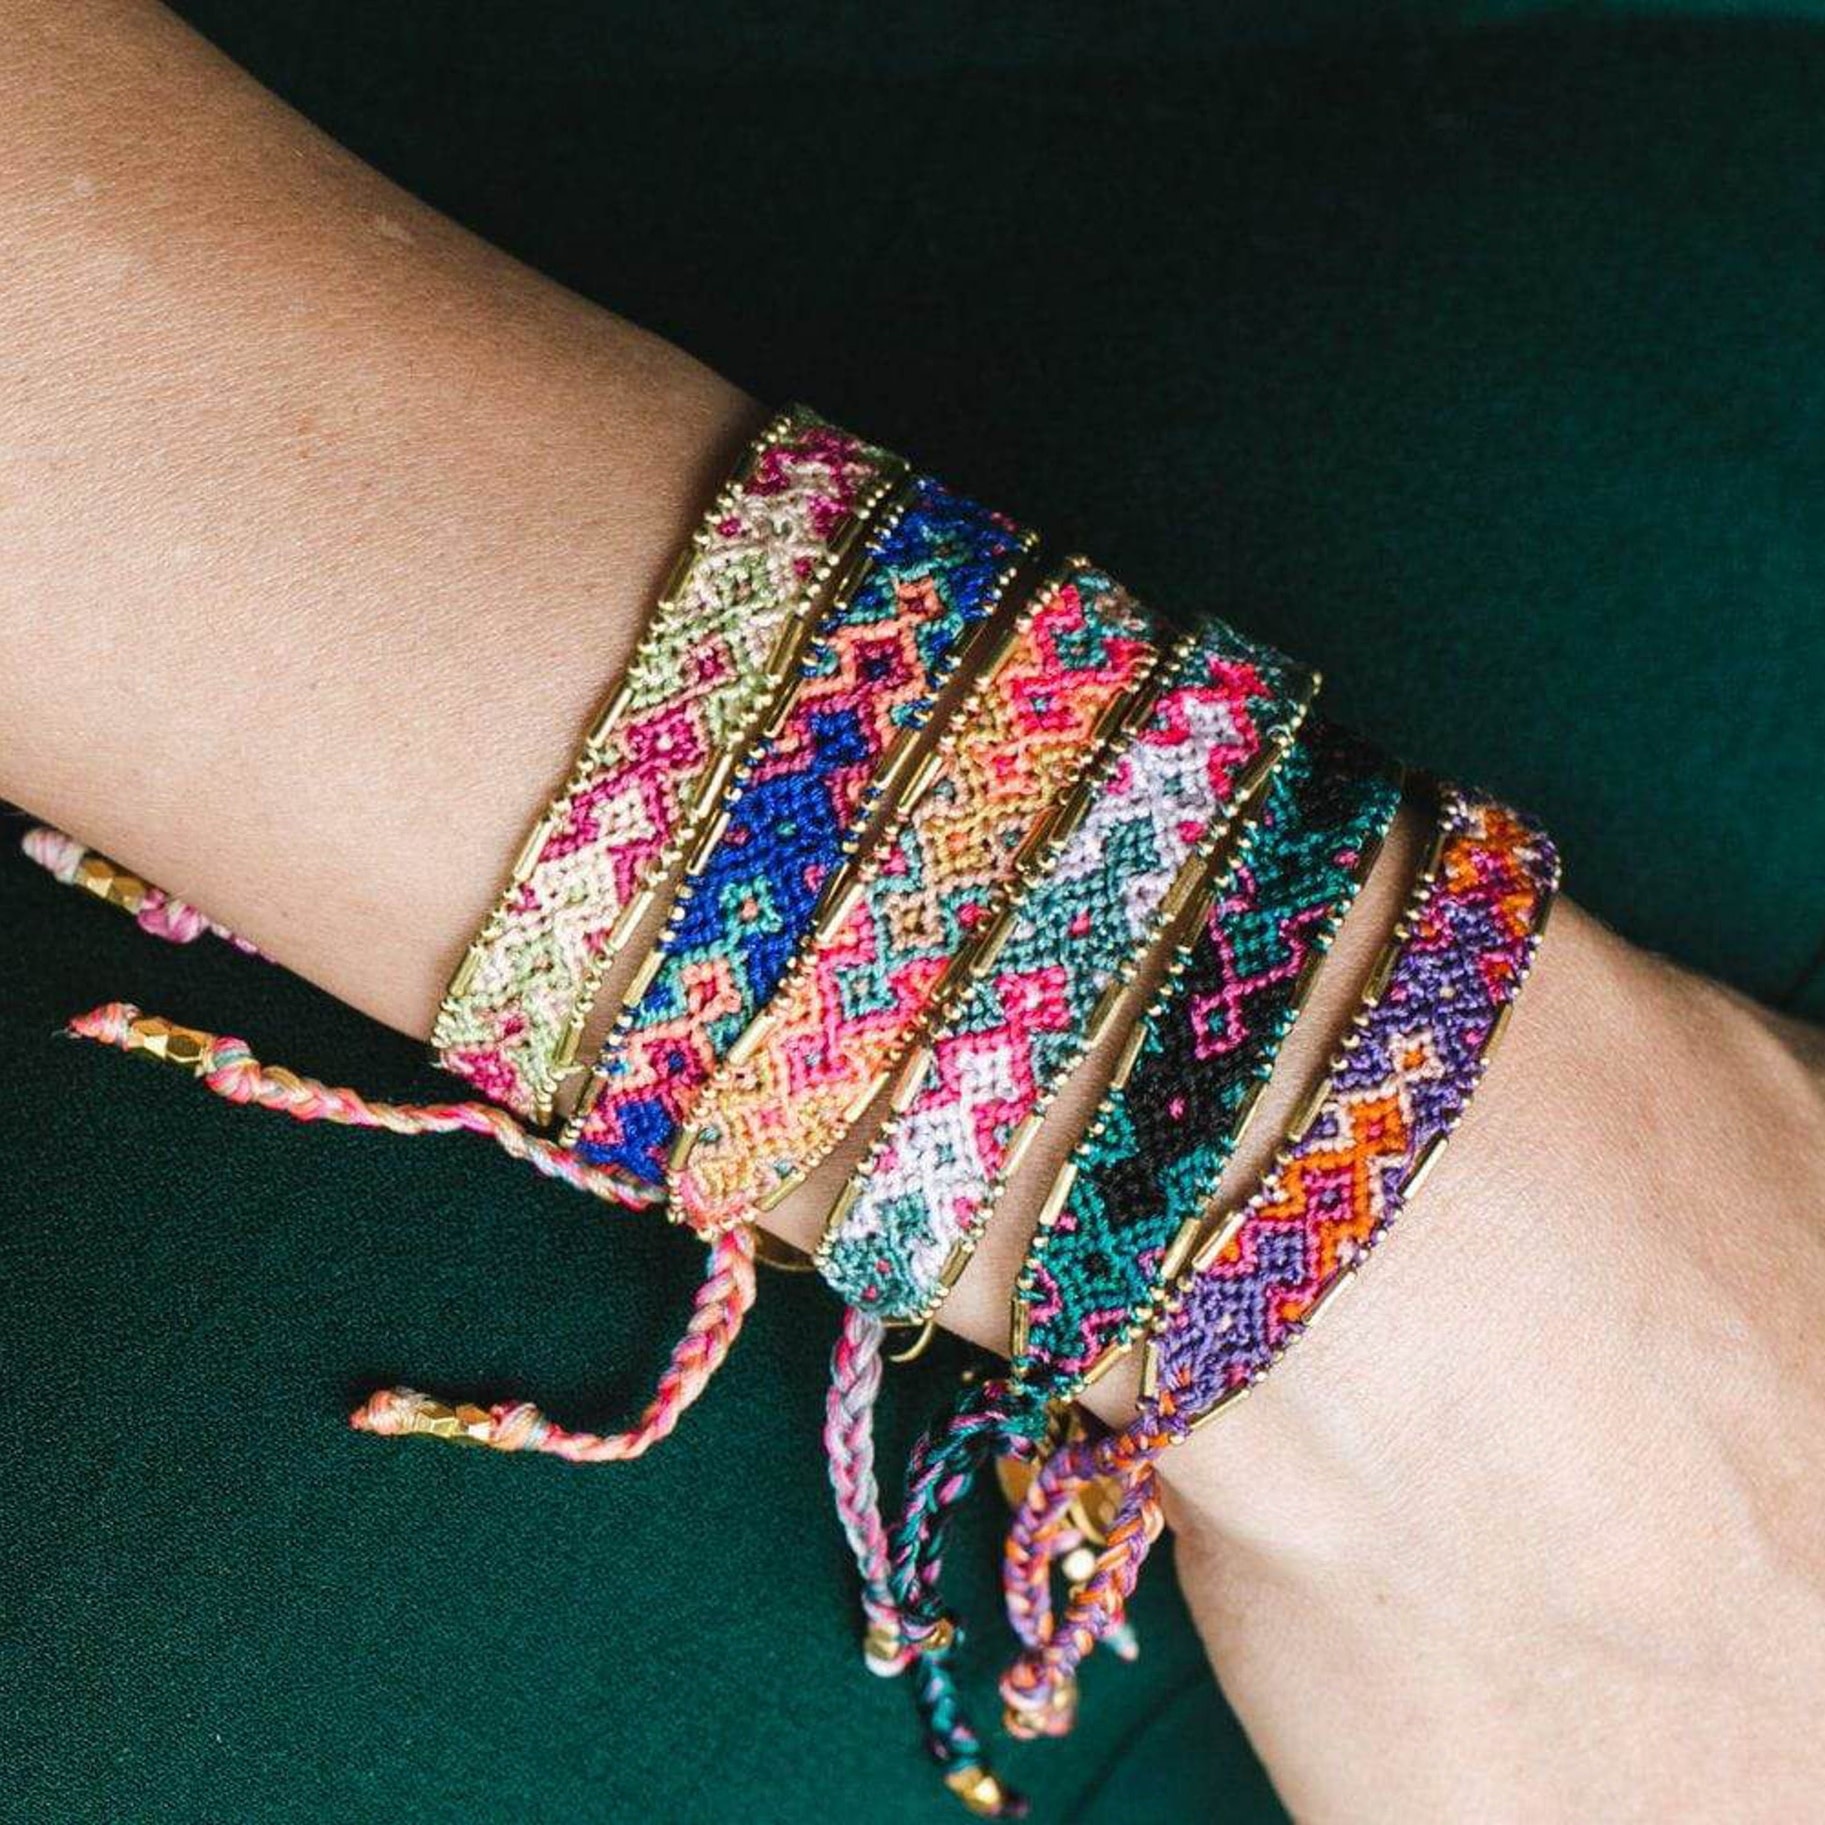
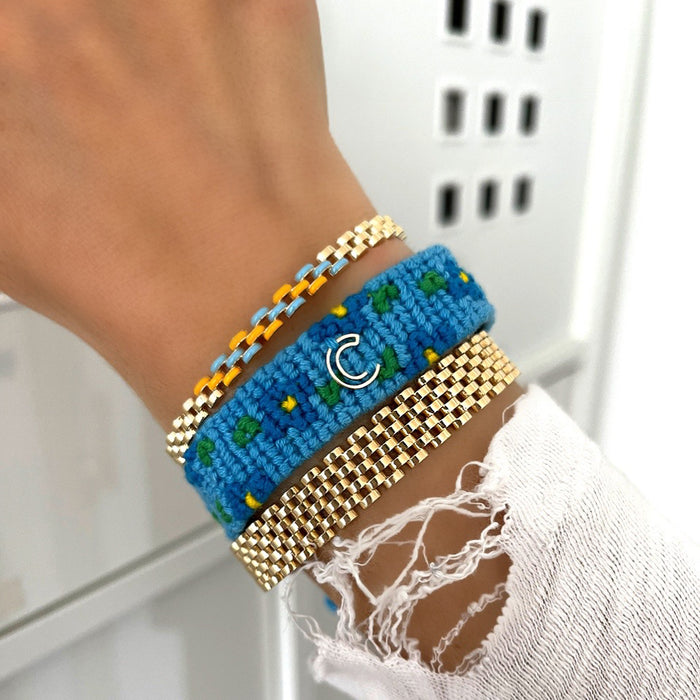
Level 2: Friendship Bracelets
Friendship bracelets are a nostalgic and fun option for bracelet making. Explore the following ideas:
- Chevron Friendship Bracelets: Create chevron patterns by knotting embroidery floss or thread in a diagonal stripe design. Experiment with different color combinations to achieve unique and vibrant bracelets.
- Embroidered Friendship Bracelets: Use embroidery techniques like cross-stitch or backstitch to create intricate patterns on friendship bracelets. Personalize each bracelet with unique designs or initials for a special touch.
Part 3: Wirework Techniques
Level 1: Wire Wrapping
Wire wrapping allows you to create beautiful and intricate designs using wire. Consider the following aspects:
- Basic Wire Wrapping: Learn how to manipulate wire using round-nose pliers, chain-nose pliers, and wire cutters. Use wire to secure beads, create loops, and add embellishments to your bracelet.
- Beaded Wire Wrapping: Incorporate beads into your wire wrapping design by attaching them to the wire or using wire to create bead links. This adds a colorful and textured element to your bracelet.
Level 2: Wire Coiling
Wire coiling adds a unique and decorative touch to homemade bracelets. Explore the following ideas:
- Spiral Wire Coiling: Create spiral designs by wrapping wire around a mandrel or dowel. Experiment with different wire thicknesses and colors for varied and eye-catching designs.
- Hammered Wire Coiling: Hammer wire to create textured and flattened coils. This technique adds depth and visual interest to your bracelet design.
Part 4: Leather and Fabric Techniques
Level 1: Leather Wrap Bracelets
Leather wrap bracelets offer a rustic and trendy look. Consider the following aspects:
- Basic Leather Wrapping: Wrap leather cord or strips around your wrist, securing them with knots or closures. Add beads, charms, or pendants for a personalized touch.
- Beaded Leather Wraps: Incorporate beads or gemstones into your leather wrap bracelet by stringing them onto the leather cord. This adds texture and visual interest to your design.
Level 2: Fabric Braiding
Fabric braiding provides a unique and colorful element to homemade bracelets. Explore the following ideas:
- Fabric Braided Bracelets: Cut fabric strips and braid them together to create colorful and vibrant fabric bracelets. Experiment with different widths and patterns for unique designs.
- Wrapped Fabric Bracelets: Wrap fabric strips around a core material, such as a bangle or wire frame, to create wrapped fabric bracelets. This adds texture and visual interest to your bracelet design.

Part 5: Mixed Media Techniques
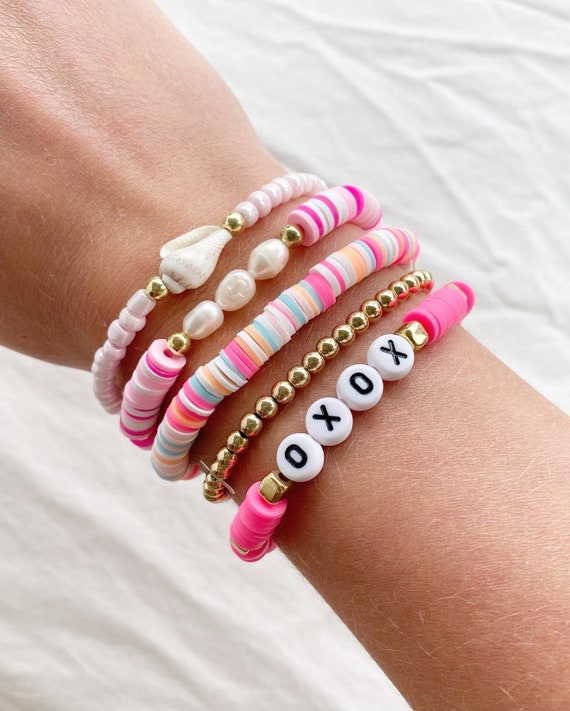
Level 1: Mixed Beads and Textiles
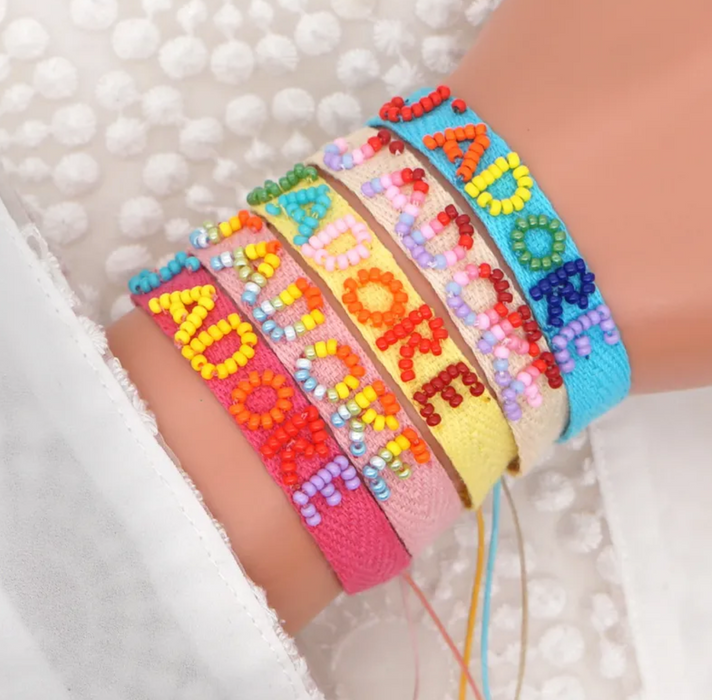
Combining beads and textiles adds a unique and colorful element to your homemade bracelets. Consider the following ideas:
- Beaded Fabric Bracelets: Sew beads onto fabric strips or ribbon to create a beaded fabric bracelet. This offers endless possibilities for patterns and designs.
- Textile Wrap Bracelets: Combine textile strips, such as silk, satin, or leather, with beads or charms to create wrap bracelets. The combination of different textures and materials creates a visually stunning and versatile piece.
Level 2: Polymer Clay and Metal Clay
Using polymer clay or metal clay allows you to add intricate and personalized elements to your bracelets. Explore the following ideas:
- Polymer Clay Beads: Create your own polymer clay beads by shaping and baking the clay. Experiment with different colors, shapes, and patterns to create unique beads for your bracelets.
- Metal Clay Charms: Use metal clay, such as silver or copper, to create personalized charms or pendants for your bracelets. After shaping and firing the clay, attach them to your bracelet for a handmade and metal touch.
Conclusion:
Exploring different bracelet making techniques opens up a world of possibilities for creating unique and personalized homemade bracelets. Whether you choose stringing techniques, braiding and knotting methods, wirework, leather and fabric, chainmaille, or mixed media approaches, each technique offers its own distinct style and creativity. With this comprehensive guide, you have the inspiration and step-by-step instructions to dive into the world of bracelet making. Remember to experiment with different materials, colors, and textures to create bracelets that reflect your personal style and taste. Embrace the joy of creating handmade bracelets and let your creativity shine through each unique design. Whether you’re making bracelets as gifts or for yourself, the process of exploring different bracelet making techniques is a fulfilling and rewarding way to express your creativity and create beautiful pieces of jewelry.


:max_bytes(150000):strip_icc()/GettyImages-1206927798-f95db608263c4cae9c130fd83c0c49cd.jpg)