Introduction:
If you’re looking for a creative and fun project to express your personal style, making your own simple beaded bracelets is the perfect DIY endeavor. Crafting your bracelets allows you to customize the design, colors, and materials to create unique pieces that reflect your individuality. In this comprehensive guide, we will explore the joy of DIY beaded bracelets, providing step-by-step instructions and tips to help you create your own stylish accessories. The article is divided into four parts, each containing two levels of content, offering a complete guide to the delightful world of DIY beaded bracelets.
Part 1: Getting Started with DIY Beaded Bracelets
Level 1: Essential Tools and Materials
Before you embark on your DIY beaded bracelet journey, gather the essential tools and materials. Consider the following aspects:
- Beads: Choose beads that match your desired style and aesthetic. You can opt for glass beads, seed beads, gemstones, wooden beads, or any other materials that catch your eye. Experiment with different shapes, sizes, and colors to create unique designs.
- Stringing Material: Select a suitable stringing material based on your bead choices. Nylon thread, elastic cord, or jewelry wire are commonly used options. Consider the strength, flexibility, and durability of the stringing material to ensure longevity for your bracelets.
Level 2: Basic Techniques
Mastering the basic techniques is crucial for creating your own beaded bracelets. Explore the following ideas:
- Basic Stringing: Start by learning the basic stringing technique, which involves threading beads onto your chosen stringing material. This technique is versatile and allows you to create different patterns and designs.
- Knotting: Familiarize yourself with knotting techniques like the simple knot or the surgeon’s knot to secure the beads in place. Proper knotting ensures that your bracelet remains intact and prevents beads from sliding off.

Part 2: Design and Creativity
Level 1: Planning Your Design
Designing your beaded bracelet is an opportunity for creative expression. Consider the following aspects:
- Color Scheme: Choose a color scheme that matches your personal style or complements your wardrobe. Experiment with monochromatic or complementary color palettes to create visually appealing designs.
- Pattern and Texture: Explore different patterns and textures by combining beads of different shapes, sizes, and finishes. Play with alternate bead arrangements, create stripes or geometric patterns, or add texture with mixed materials.
Level 2: Personalization and Embellishment
Add a personal touch to your beaded bracelets by incorporating embellishments. Explore the following ideas:
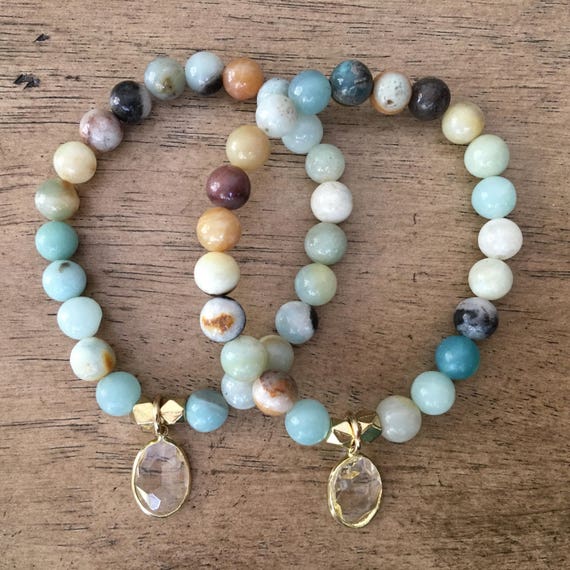
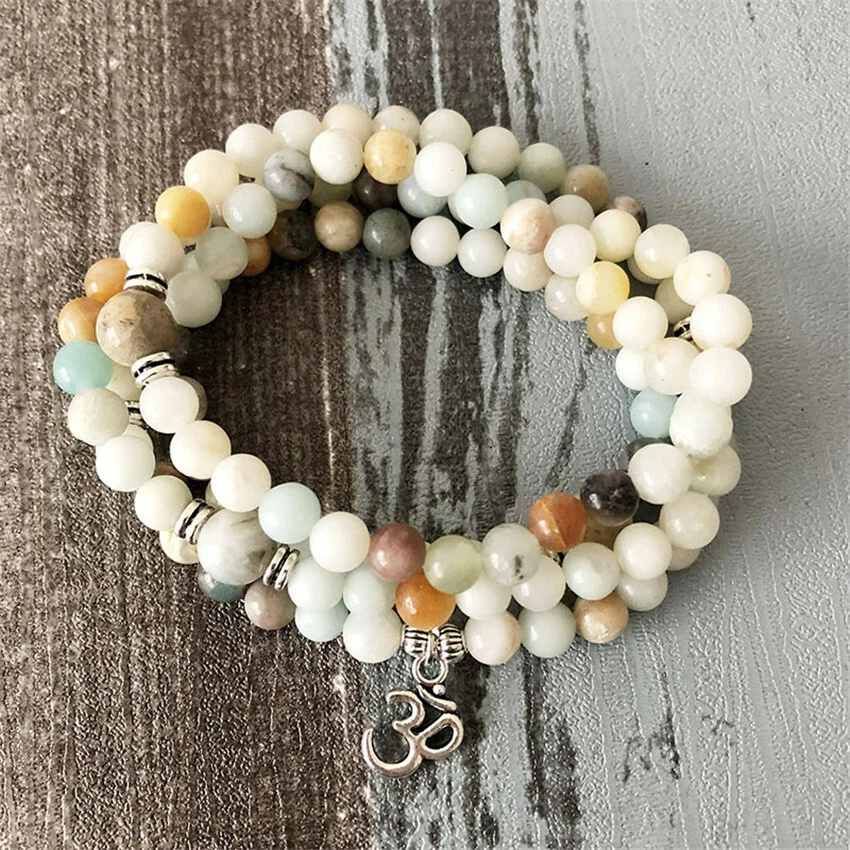
- Charms and Pendants: Attach small charms or pendants that reflect your interests, hobbies, or beliefs. This adds a unique element to your bracelet and makes it truly one-of-a-kind.
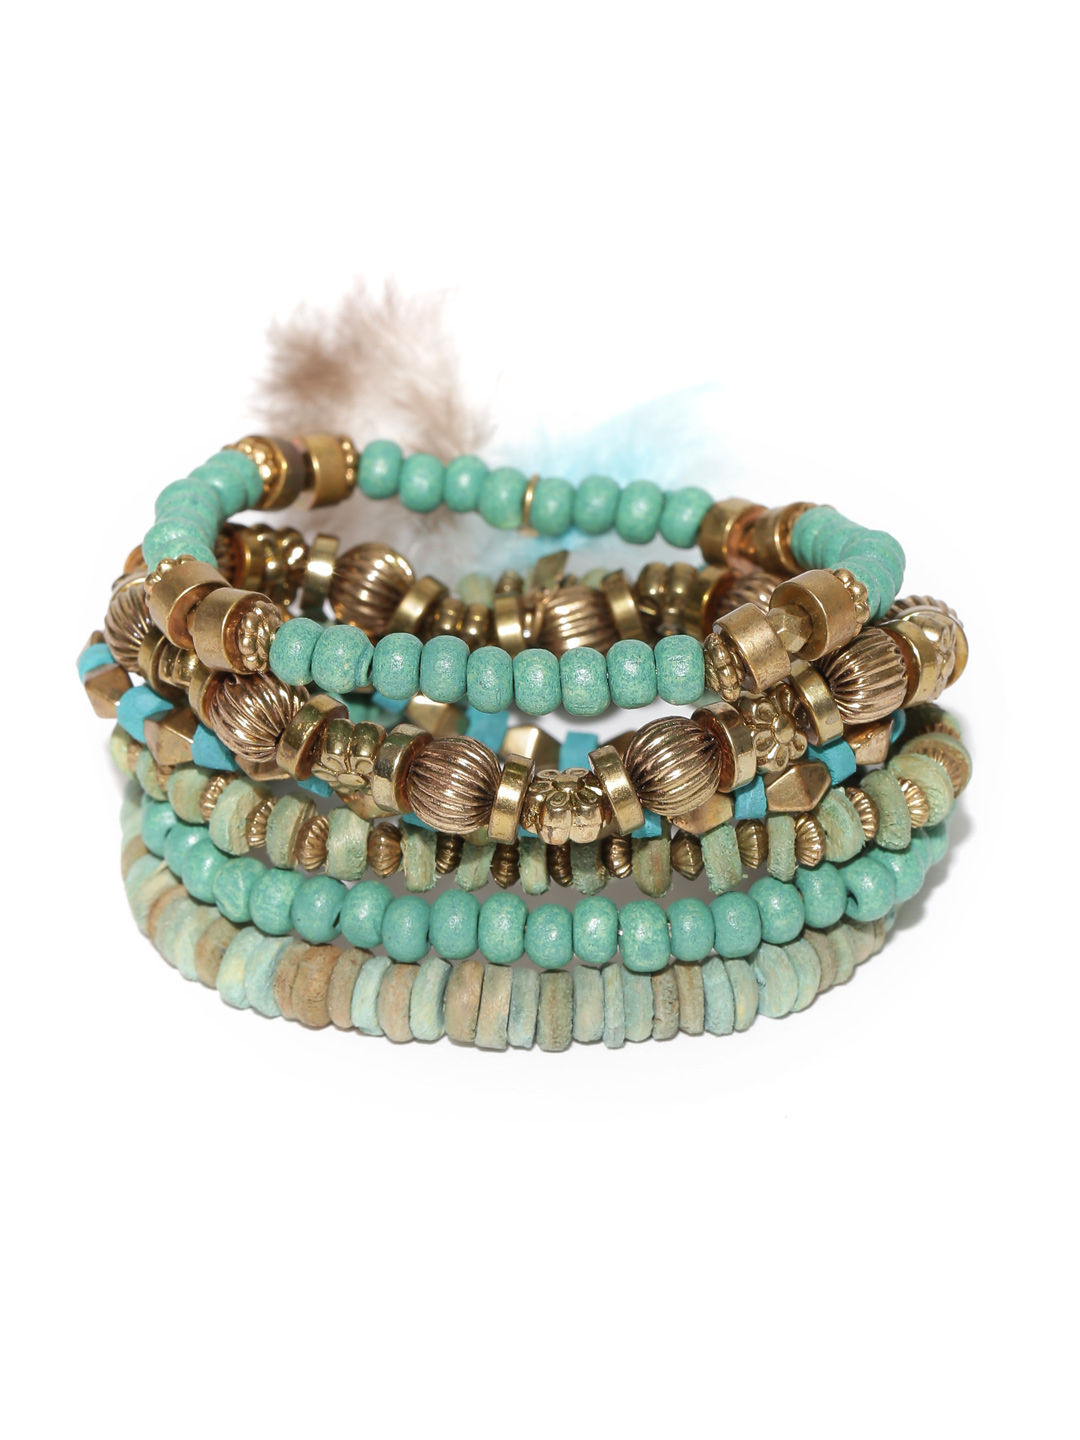
- Tassels and Pom-Poms: Enhance the playful and bohemian vibe of your bracelet by adding tassels or pom-poms. These colorful and tactile elements bring an extra level of fun and personality to your design.

Part 3: Step-by-Step Bracelet Tutorials
Level 1: Single-Strand Bracelet
Create a simple single-strand beaded bracelet with this step-by-step tutorial. Consider the following aspects:
- Select your preferred beads, stringing material, and a closure option like a lobster clasp or a toggle clasp.
- Measure the desired length of your bracelet and cut the stringing material accordingly, adding a few extra inches for knotting and closure.
- Arrange your beads in the desired pattern or randomly string them onto the stringing material, leaving enough space at the ends for knotting and closure.
- Knot one end of the stringing material, ensuring that the knot is secure. Slide the beads onto the stringing material, and knot the other end to secure the beads in place.
- Attach the closure option to both ends of the bracelet, ensuring it is secure. Trim any excess stringing material if necessary.
Level 2: Multi-Strand Bracelet
Take your bracelet-making skills to the next level by creating a multi-strand beaded bracelet. Explore the following ideas:
- Choose the number of strands you want for your bracelet and select the beads and stringing materials accordingly.
- Measure the desired length for each strand and cut the stringing materials, adding extra length for knotting and closure.
- Arrange the beads on each strand, following your desired pattern or design.
- Knot the ends of each strand, ensuring they are secure. Combine the strands and knot them together, leaving enough space for the closure option.
- Attach the closure option to both ends of the bracelet, making sure it is secure. Trim any excess stringing material if necessary.
Part 4: Finishing Touches and Care Tips
Level 1: Adding Clasps and Closures
Choosing the right clasps and closures adds a polished finish to your beaded bracelets. Consider the following aspects:
- Lobster Clasps: Lobster clasps are secure and easy to use. They come in various sizes and designs, allowing you to choose one that matches your bracelet design.
- Toggle Clasps: Toggle clasps add a unique and stylish touch to your bracelets. They consist of a bar and a ring that interlock to secure the bracelet.
Level 2: Care and Maintenance
Proper care ensures the longevity of your handmade beaded bracelets. Explore the following ideas:
- Avoid Water Exposure: Remove your beaded bracelets before swimming or showering to prevent damage to the beads and stringing material.
- Store Separately: Store your bracelets separately to prevent tangling or scratching. Use small jewelry pouches or compartments to keep them safe and organized.
Conclusion:
Creating your own simple beaded bracelets is a delightful and fulfilling DIY project. By gathering the essential tools and materials, mastering basic techniques, and allowing your creativity to shine through, you can design unique and stylish bracelets that reflect your personal style. Whether you opt for a single-strand or multi-strand design, adding your personal touch with color schemes, patterns, and embellishments makes each bracelet truly one-of-a-kind.
Enjoy the process of crafting your own beaded bracelets and let your creativity flourish. With each bracelet you make, you’ll gain confidence and satisfaction in your DIY skills. Remember to care for your bracelets properly, and they will bring you joy and stylish flair for years to come.
Embrace the joy of DIY beaded bracelets, knowing that you have the skills and creativity to create beautiful and personalized accessories. Let your imagination run wild, mix and match beads, and experiment with various designs to create bracelets that are as unique as you are. The world of DIY beaded bracelets is waiting for you to explore and express your individual style.