Introduction:
In a world filled with distractions and constant busyness, many individuals seek methods to enhance their spiritual awareness and cultivate mindfulness. One powerful tool that has gained popularity is the Buddha Girl Bracelet. These beautiful and meaningful bracelets serve as a reminder to set intentions, practice mindfulness, and connect with one’s inner self. In this comprehensive guide, we will explore the power of intention and how Buddha Girl Bracelets can enhance spiritual awareness. Divided into four parts, each containing two levels of content, this article will delve into the significance, symbolism, and practices associated with wearing Buddha Girl Bracelets.
Part 1: Understanding the Symbolism
Level 1: The Buddha Girl Bracelet as a Symbol
The Buddha Girl Bracelet serves as a symbol of mindfulness and spiritual awareness. Consider the following aspects:
- Presence and Mindfulness: The bracelet acts as a physical reminder to be present and mindful throughout the day. By wearing it, individuals are encouraged to stay focused on the present moment and cultivate a sense of awareness in their thoughts, actions, and surroundings.
- Connection to Inner Self: The bracelet symbolizes the journey towards self-discovery and spiritual growth. It serves as a reminder to connect with one’s inner self, fostering a deeper understanding of personal values, desires, and intentions.
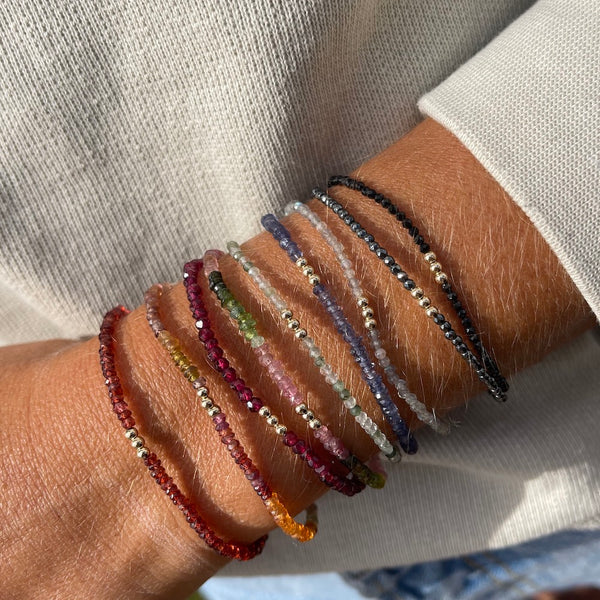
Level 2: The Significance of Beads and Materials
The beads and materials used in Buddha Girl Bracelets hold symbolic significance. Explore the following ideas:
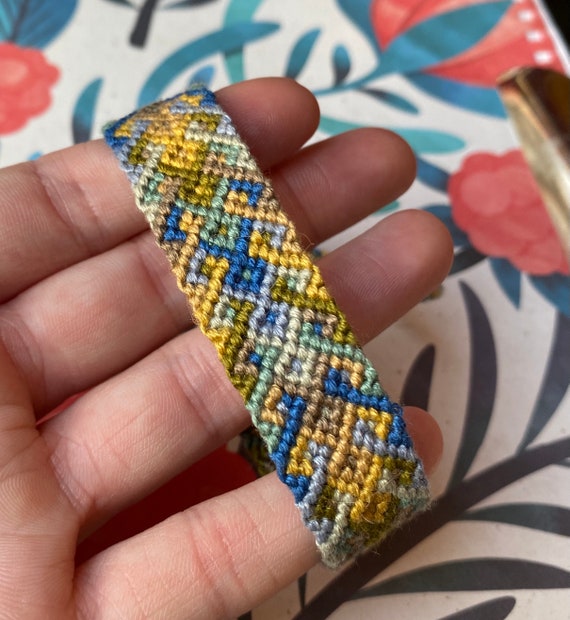
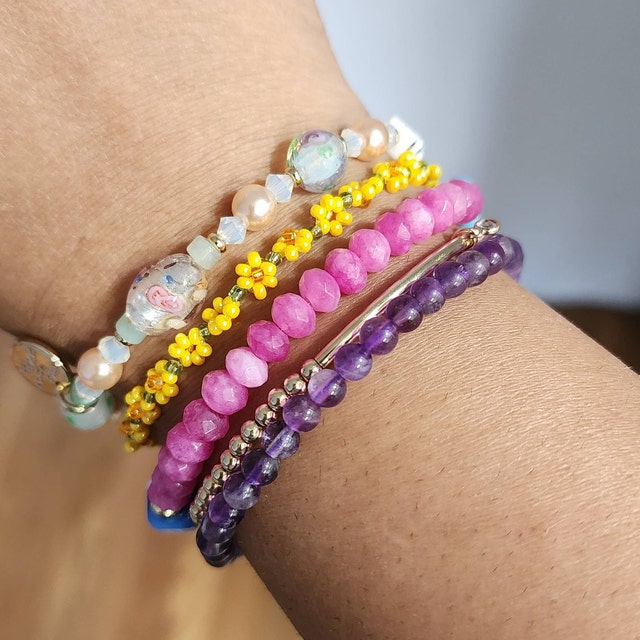
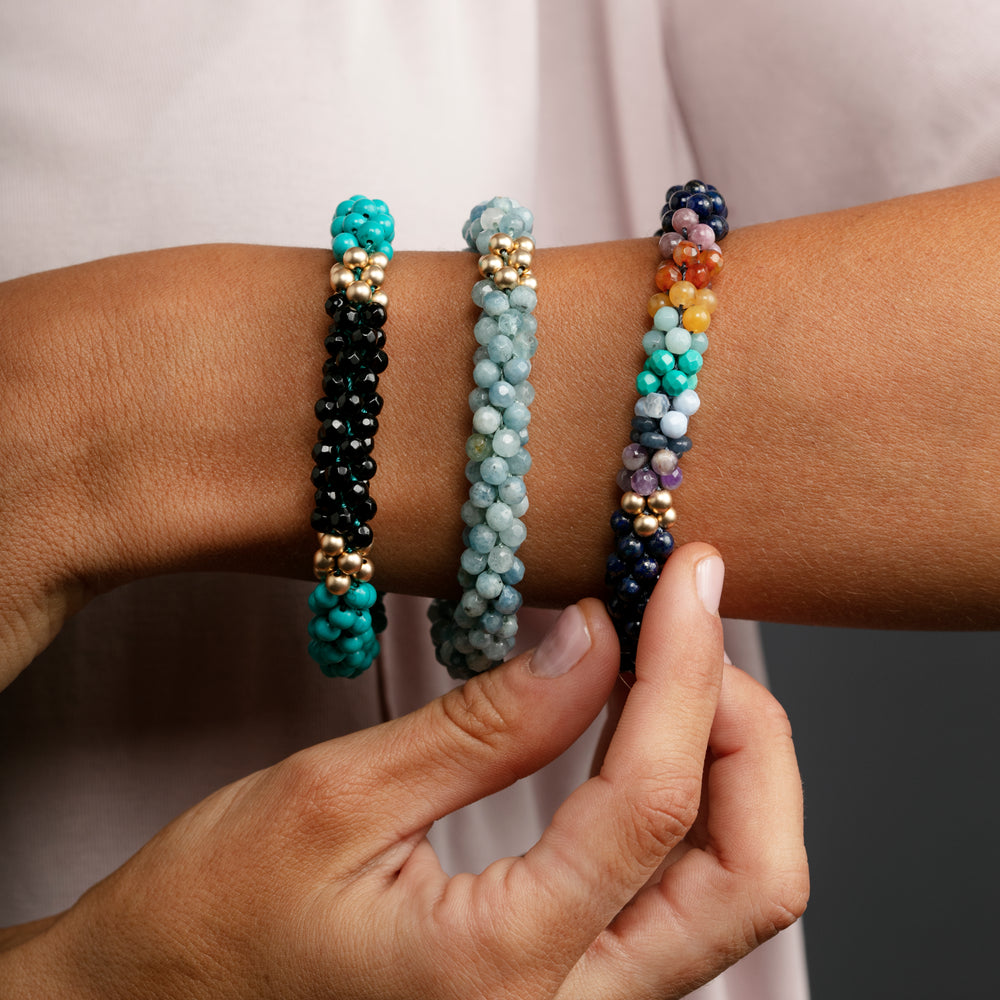
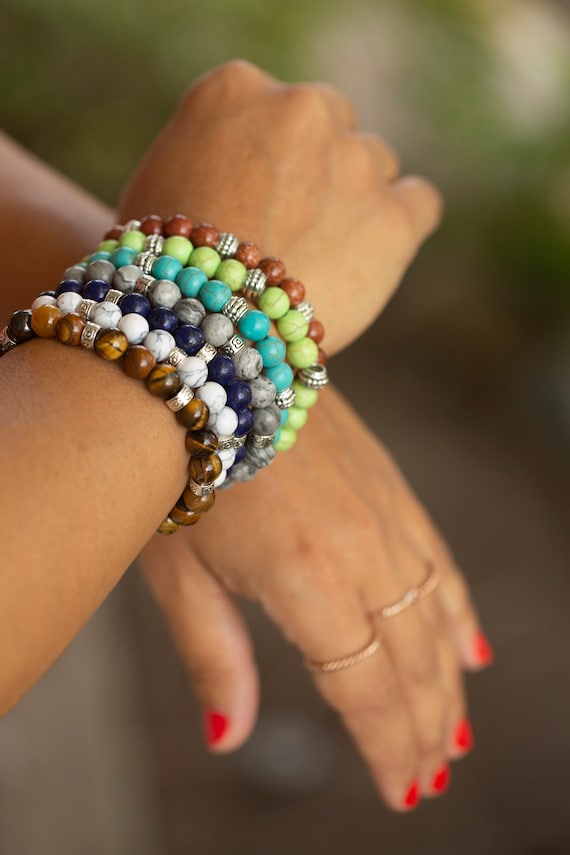
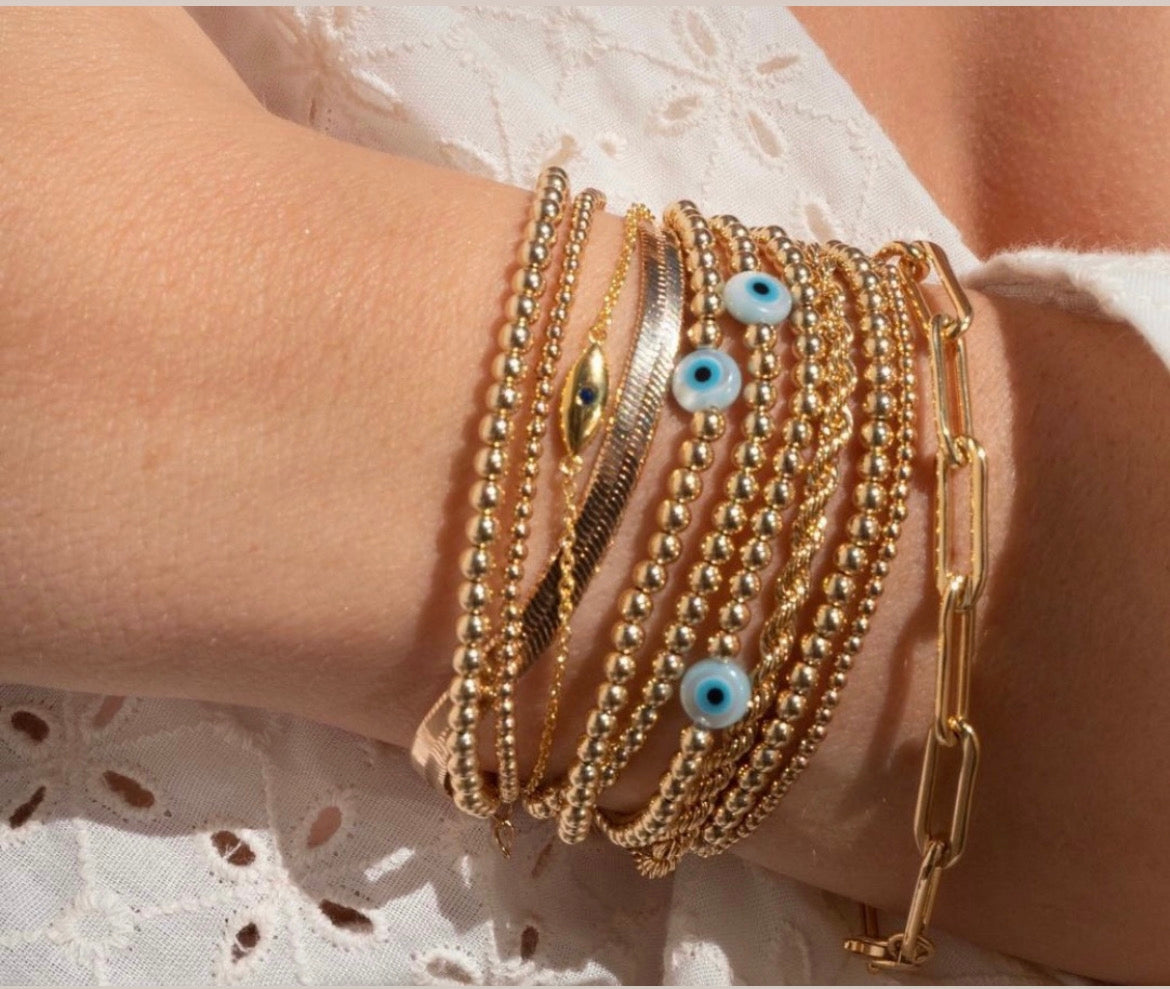
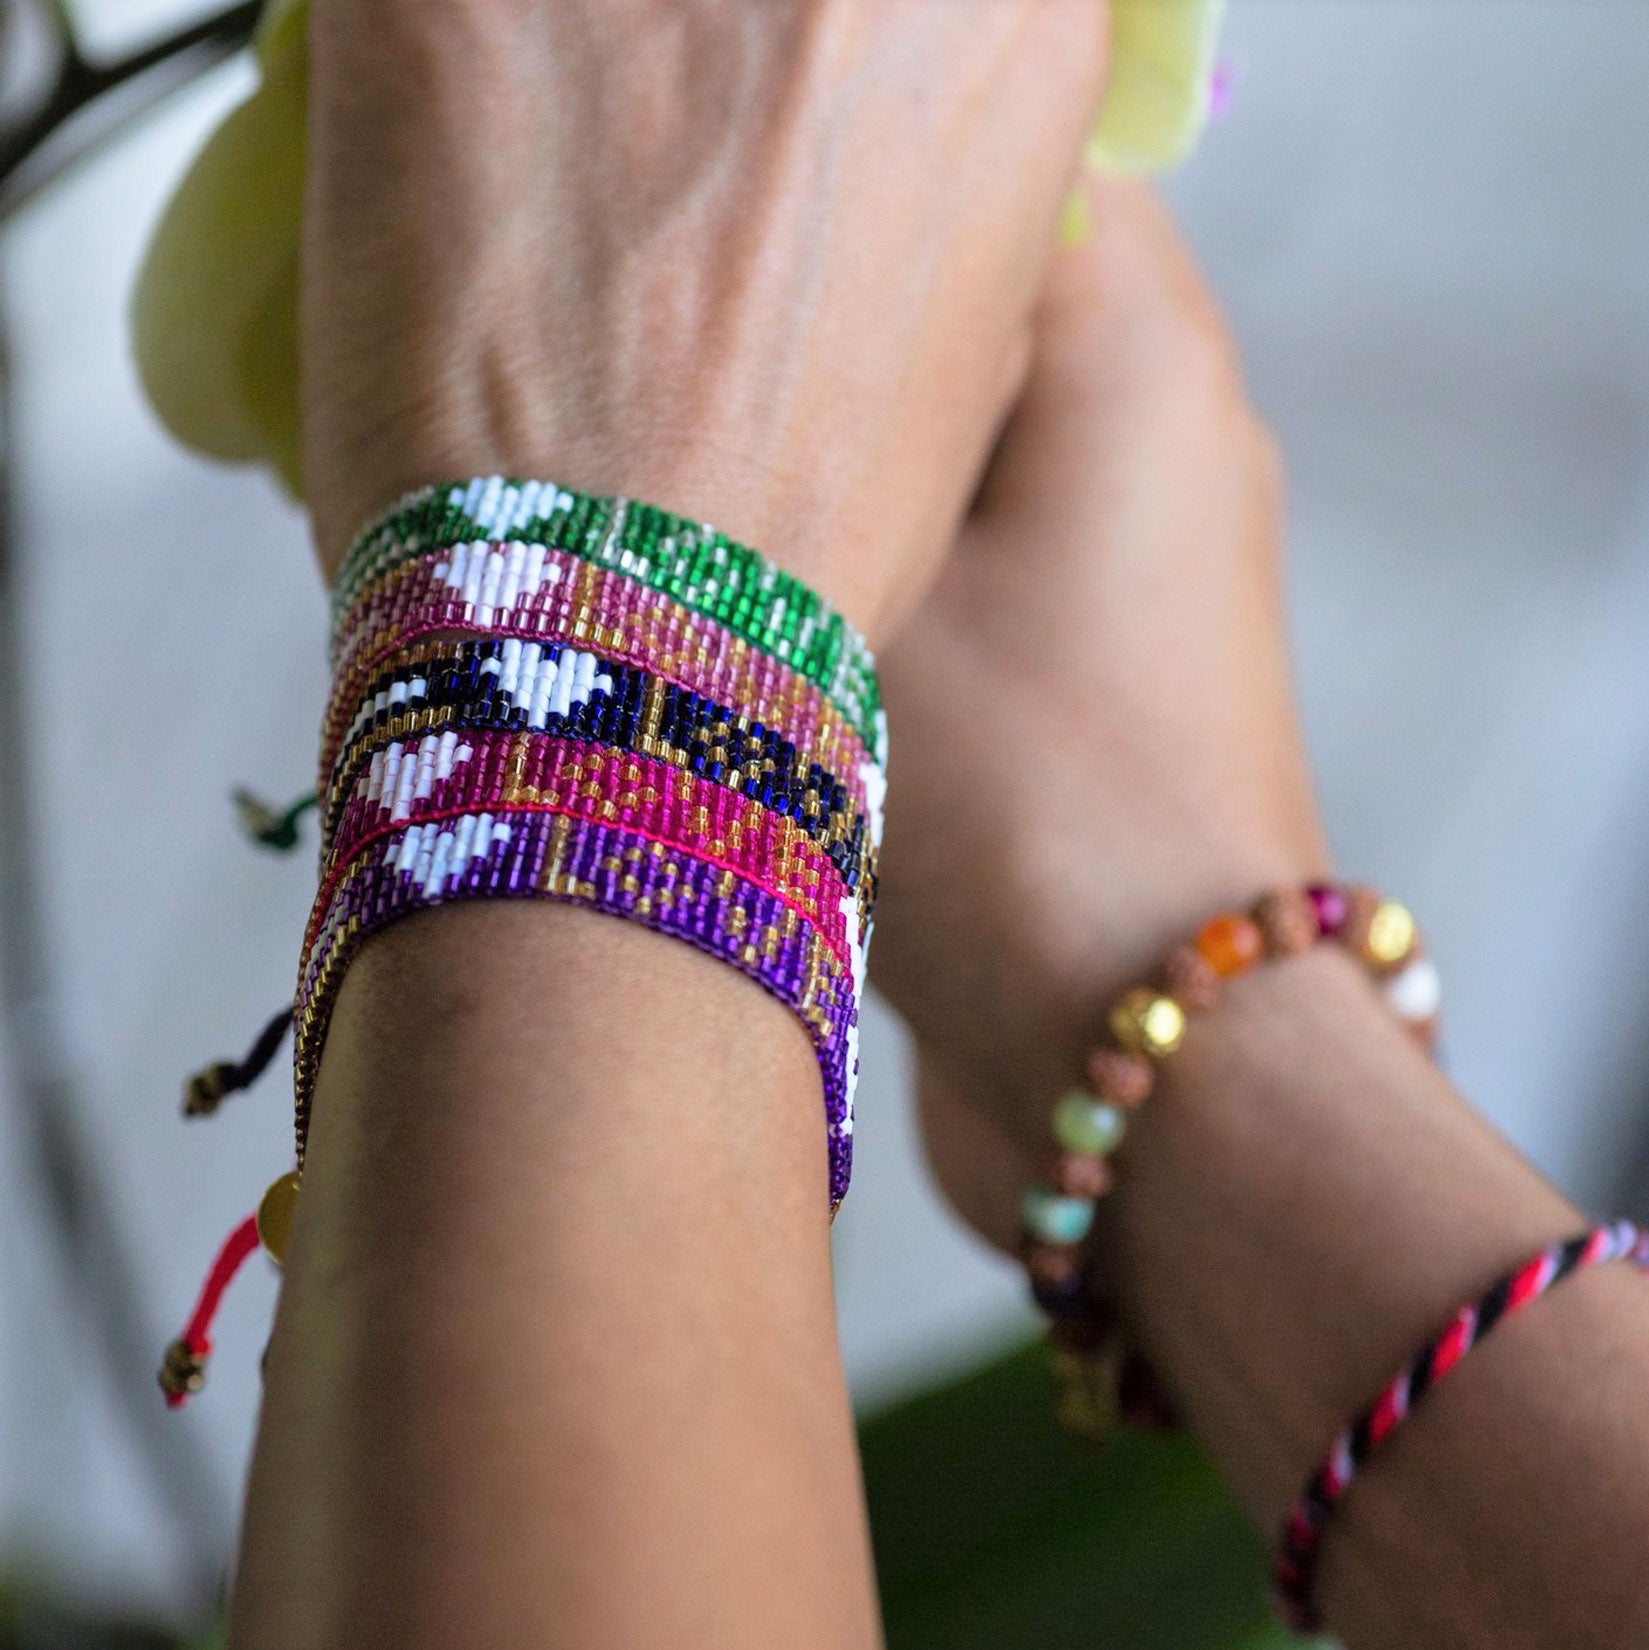
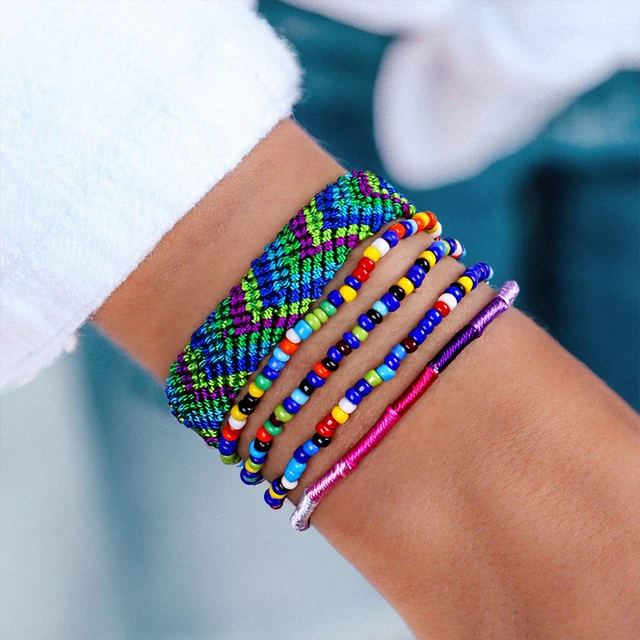
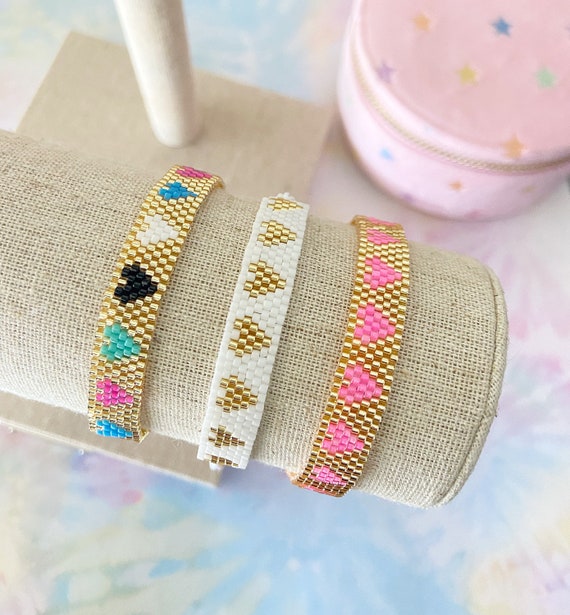
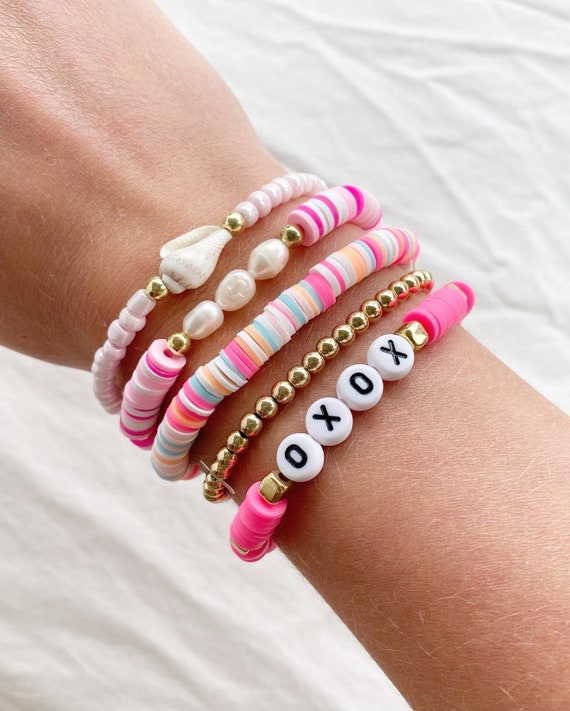
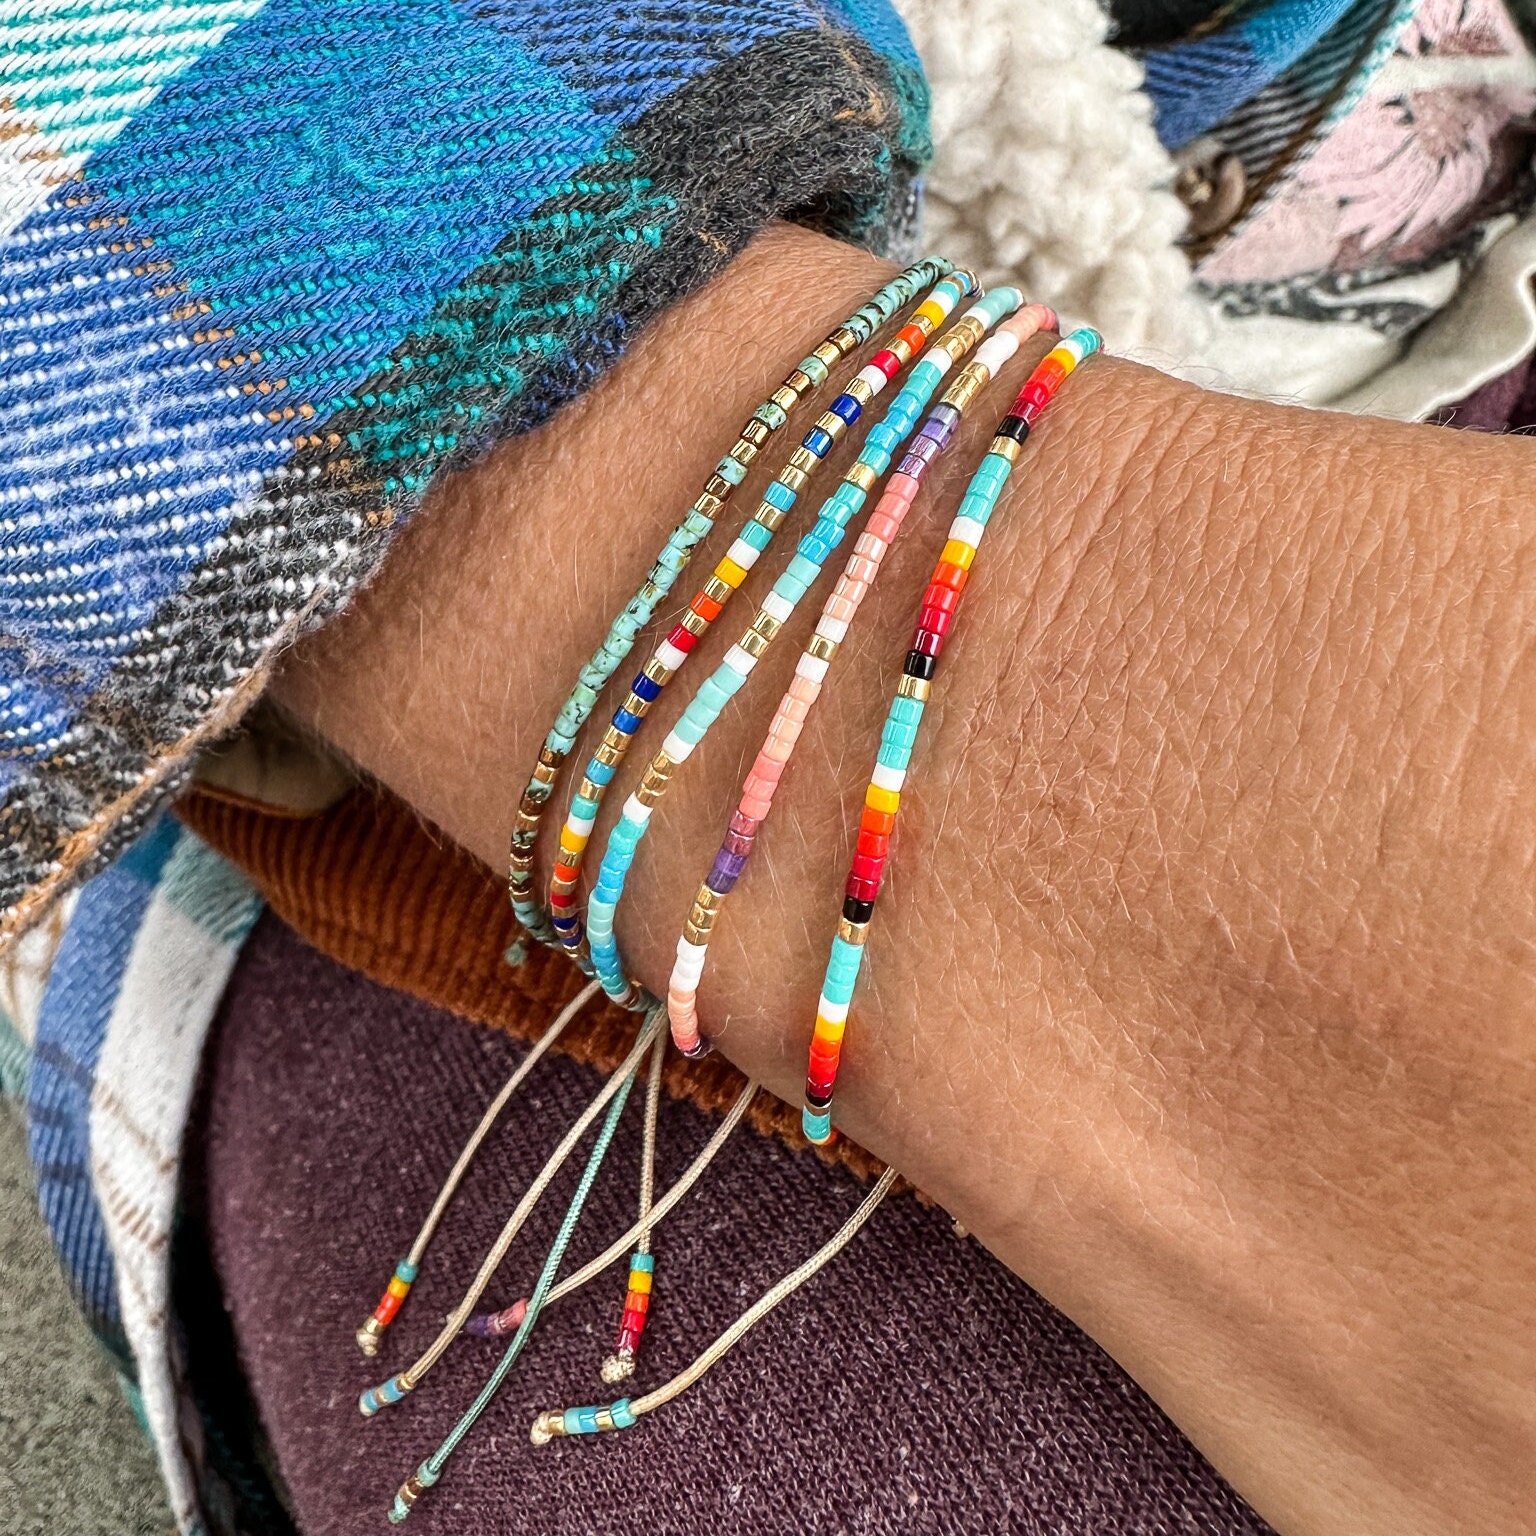
- Gemstone Beads: Each gemstone bead used in the bracelet carries its own unique energy and properties. For example, amethyst promotes calmness and clarity, while rose quartz encourages love and self-compassion. The choice of gemstone beads allows individuals to select the energy they wish to cultivate and manifest in their lives.
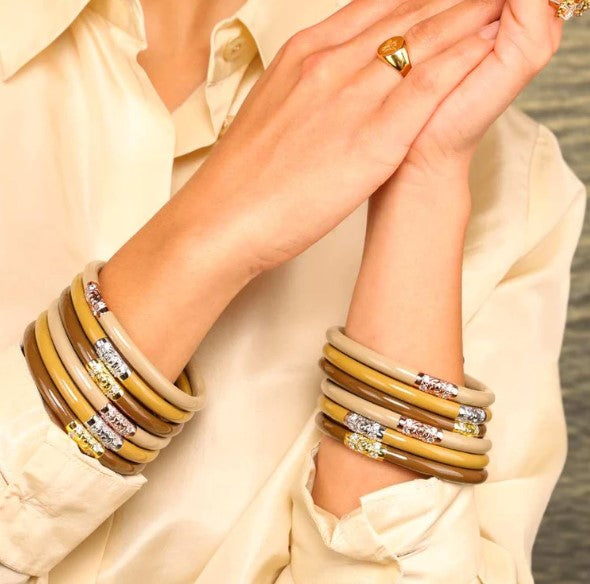
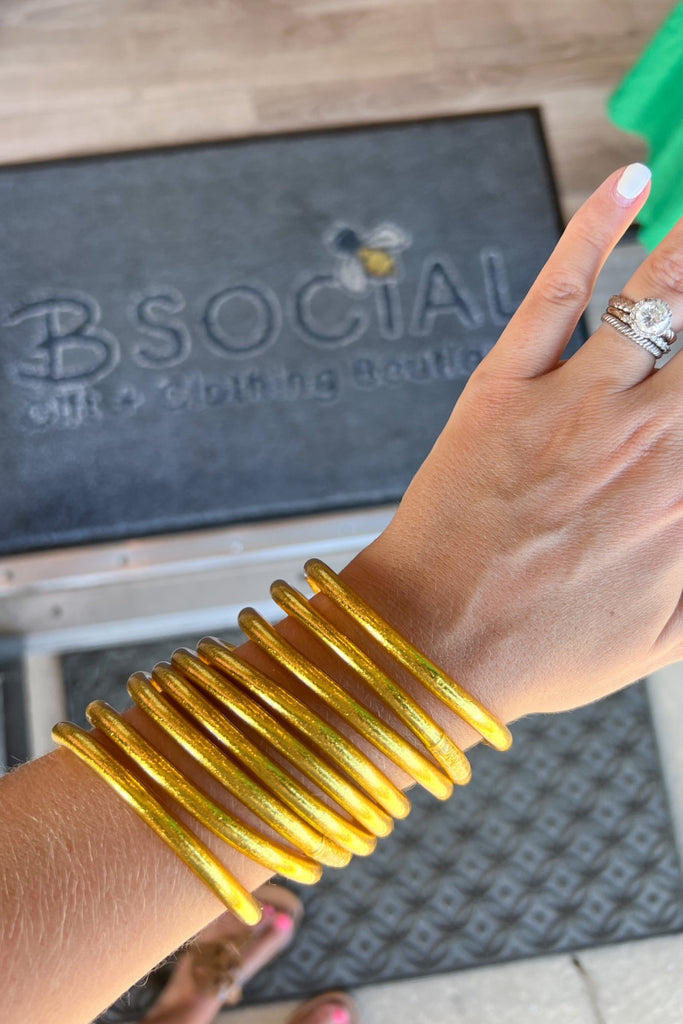
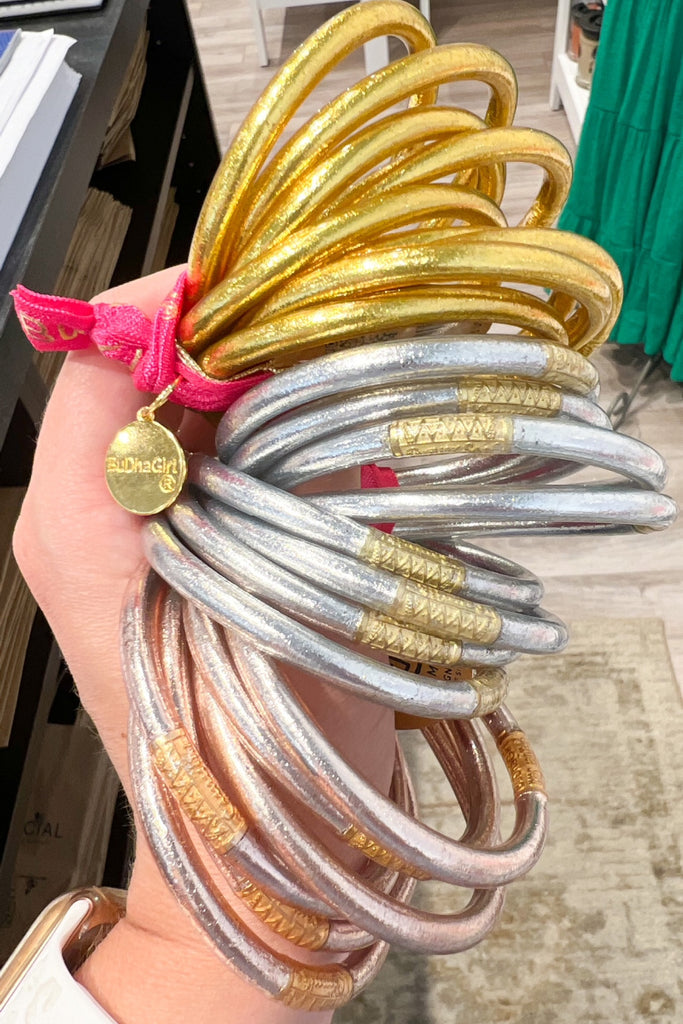
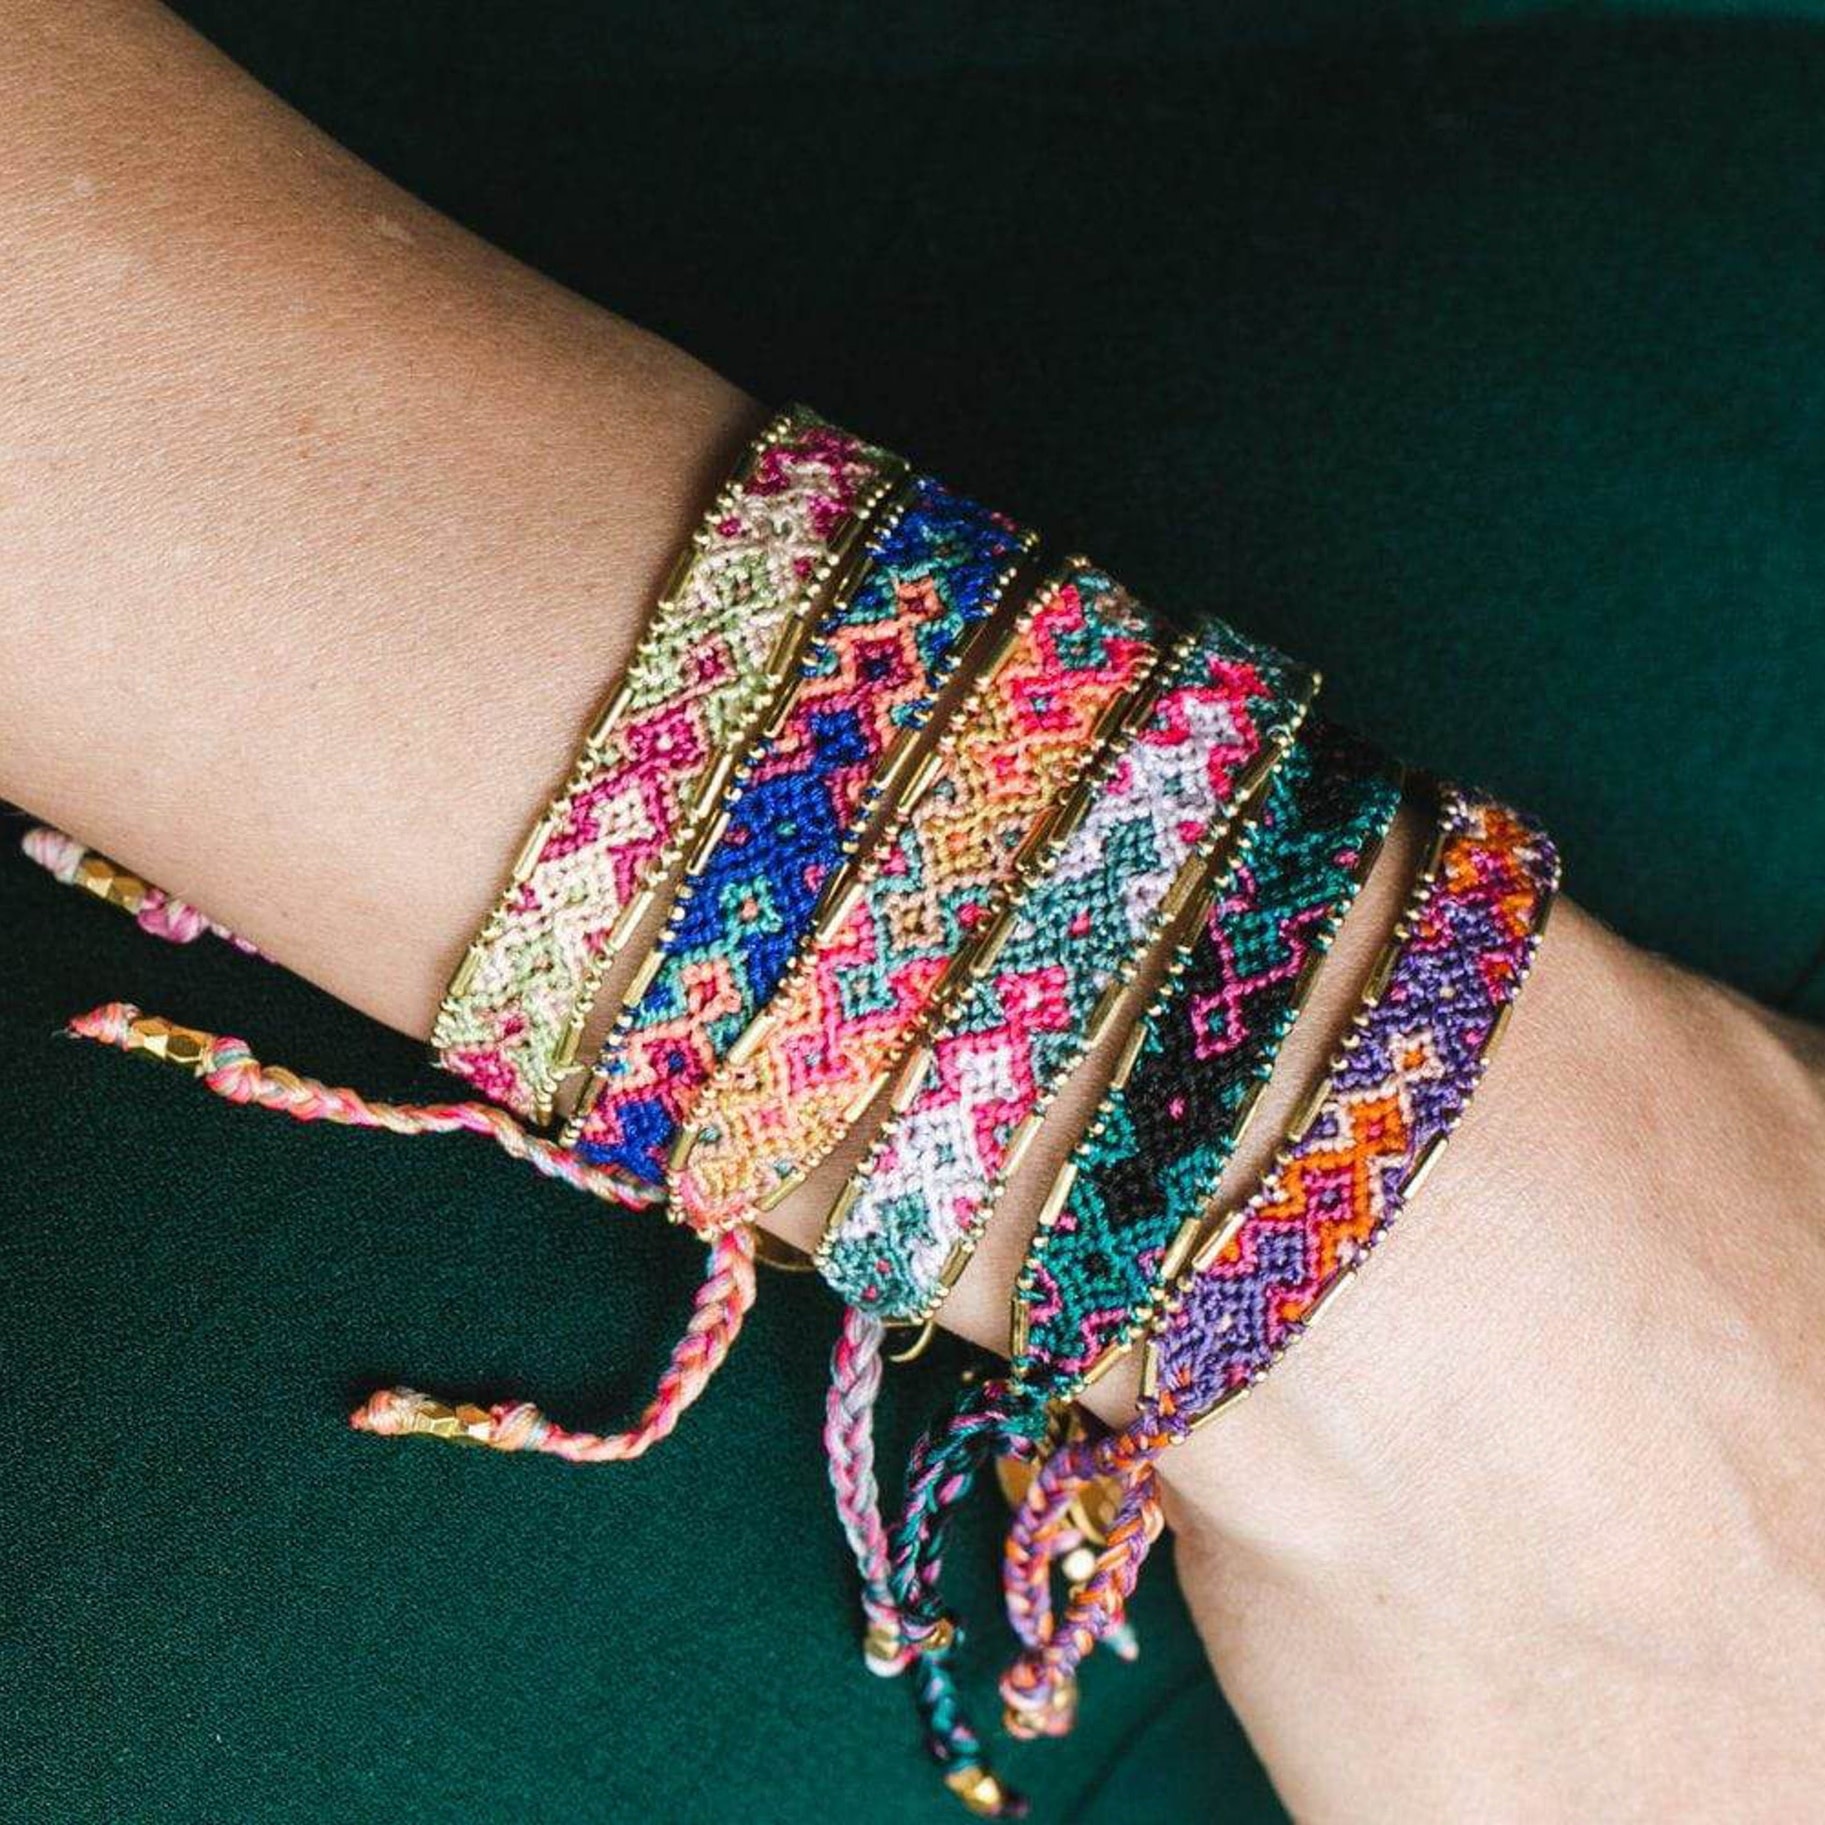
- Gold, Silver, or Rose Gold Caps: The choice of metal caps represents qualities such as strength, purity, and warmth. Gold embodies wisdom and wealth, silver represents intuition and protection, and rose gold symbolizes love and compassion. The metal caps enhance the symbolism of the bracelet and infuse it with positive energy.

Part 2: Setting Intentions and Practicing Mindfulness
Level 1: Setting Daily Intentions
Buddha Girl Bracelets provide a tool for setting daily intentions. Consider the following aspects:
- Morning Ritual: Begin your day by holding the bracelet in your hands and setting an intention for the day ahead. The intention can be focused on personal growth, gratitude, or any aspect of your life that you wish to bring awareness and intention to.
- Affirmations and Mantras: Repeat affirmations or mantras associated with your intention as you wear the bracelet. This practice reinforces the intention and helps to manifest positive energy and outcomes throughout the day.
Level 2: Mindful Practices
Buddha Girl Bracelets encourage the practice of mindfulness in daily life. Explore the following ideas:
- Mindful Breathing: Use the bracelet as a reminder to take mindful breaths throughout the day. Pause, close your eyes, and gently touch each bead as you take a slow breath in and out. This simple practice helps to ground you in the present moment and cultivate a sense of calm and awareness.
- Gratitude Practice: Each time you touch your Buddha Girl Bracelet, reflect on something you are grateful for. This practice cultivates a mindset of gratitude and appreciation, allowing you to shift your focus to the positive aspects of your life.

Part 3: Incorporating Rituals and Ceremonies
Level 1: Creating Rituals
Buddha Girl Bracelets can be incorporated into personal rituals and ceremonies. Consider the following aspects:
- Meditation and Prayer: Wear the bracelet during meditation or prayer sessions to deepen your connection with your spiritual practice. The bracelet serves as a physical anchor, reminding you to stay focused and present during these moments of reflection.
- Full Moon or New Moon Rituals: Use the bracelet as part of your full moon or new moon rituals. Hold the bracelet under the moonlight, setting intentions or releasing energy that no longer serves you. This practice enhances the energetic properties of the bracelet and aligns it with the natural cycles of the moon.
Level 2: Cleansing and Recharging
Buddha Girl Bracelets benefit from regular cleansing and recharging. Explore the following ideas:
- Cleansing Practices: Cleanse the bracelet with smoke from sage, palo santo, or incense to clear any negative energy accumulated over time. Alternatively, you can immerse the bracelet in natural flowing water or lay it under moonlight to cleanse and recharge its energy.
- Infusing with Positive Energy: Place the bracelet in a sacred space or near crystals overnight to infuse it with positive energy. Additionally, you can use visualization techniques or affirmations to imbue the bracelet with your desired intentions and energy.
Part 4: Cultivating a Mindful Lifestyle
Level 1: Daily Mindfulness Practices
Buddha Girl Bracelets serve as a constant reminder to cultivate mindfulness in everyday life. Consider the following aspects:
- Mindful Eating: Before a meal, pause and touch your bracelet to bring yourself into the present moment. Use this moment to express gratitude for the nourishment you are about to receive and to savor each bite mindfully.
- Mindful Movement: Wear the bracelet during yoga, exercise, or any physical activity. Use it as a reminder to stay present in your body and to move with intention, focusing on the sensations and the breath as you engage in the practice.
Level 2: Journaling and Reflection
Buddha Girl Bracelets can be used as a prompt for journaling and self-reflection. Explore the following ideas:
- Journaling Prompts: Before journaling, touch your bracelet and set an intention for your writing session. Use the bracelet as a starting point for reflection, exploring topics such as personal growth, gratitude, or challenges you are facing.
- Setting Goals: Use the bracelet to support your goal-setting process. Touch it each time you work on your goals or revisit them, bringing your intention and focus to the forefront of your mind.

Conclusion:
Buddha Girl Bracelets serve as powerful tools for enhancing spiritual awareness and cultivating mindfulness. Through their symbolism, intention-setting practices, and incorporation into rituals and ceremonies, these bracelets provide a constant reminder to live with intention, presence, and gratitude. By incorporating mindful practices and embracing a lifestyle of conscious awareness, you can deepen your connection with your inner self and engage in the transformative power of these meaningful accessories. Let Buddha Girl Bracelets be a guiding light on your spiritual journey, enhancing your spiritual awareness and allowing you to navigate life with intention and mindfulness.


:max_bytes(150000):strip_icc()/GettyImages-1206927798-f95db608263c4cae9c130fd83c0c49cd.jpg)